
When I joined Hello Homestead last October, I was worried our readers would peg me as a gardening fraud. I had successfully grown herbs in my windowsill and even tended to a small patch of cacti in my front yard while living in Joshua Tree (which, admittedly, was a low-maintenance endeavor), but this season was my first time growing seedlings.
It seemed like a cardinal sin that I had never grown my own seedlings given all the gardening-savvy folks I interviewed every day. When spring rolled around, I decided I had to try starting seedlings in my tiny walk-up apartment.
Starting plants from seed comes with many advantages, from reduced costs to increased control over the diversity of plants you can add to your garden. But seedlings are also finicky and need to be babied. I knew I had a lot to learn.
From the moment I put my seeds in their starter pots to the day I transferred them to my community garden, here is what I learned from my first time growing seedlings.
Read the seed packet
Seed packets have the most valuable information about the plant you hope to grow. Seed packets will often indicate how early you should start your seeds and the conditions they need based on your hardiness zone. Your local cooperative extension will also be able to provide you with information and resources on when and how to start your seeds based on where you live.
Only plant what you can handle
When I started my seedling journey, I was ambitious. I planted trays and trays of cherry tomatoes, hot peppers and other long-season crops as soon as the time was right. But between the daily care and observation of the seedlings on top of my other responsibilities. I quickly realized I had bitten off more than I could chew (or, realistically water before work). I passed a few seedlings on to lucky friends, and let some of the less hearty plants (ones that literally topped over from stem weakness) go to the compost pile.
Start small. Plant a few trays and tend to them well instead of spreading yourself thin over many plants.
Make your own seedling pots
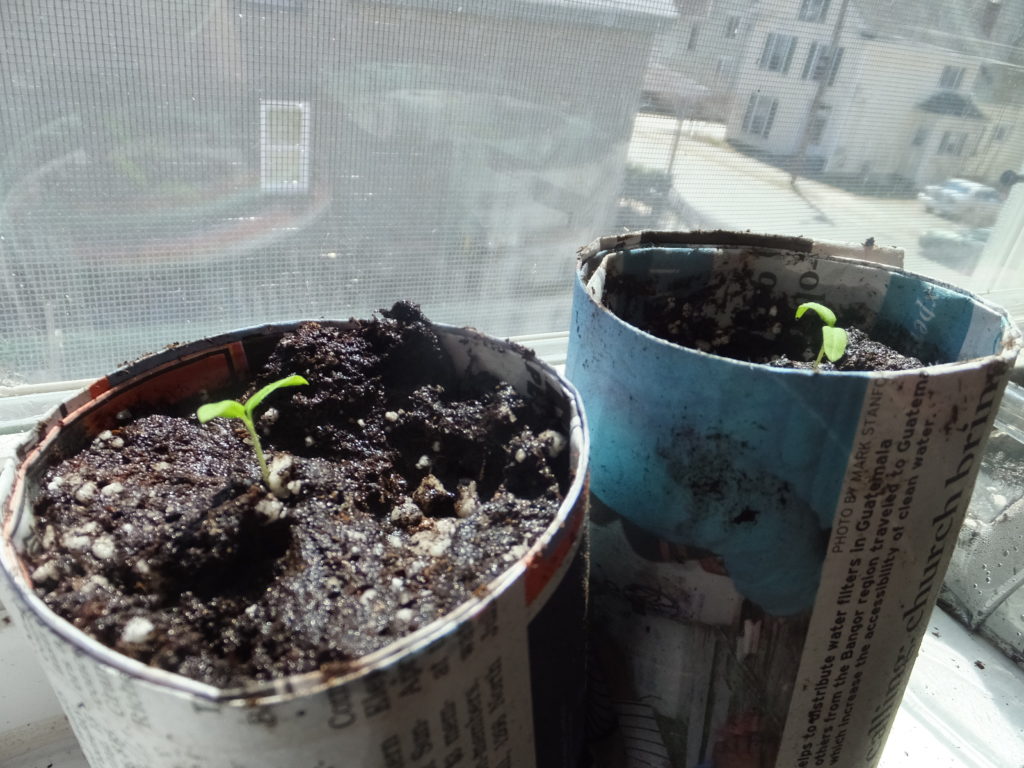
Though starting your own seeds will save you money on your garden, in the long run, the upfront capital costs are fairly steep, especially for new gardeners. I saved money by learning how to make seedling pots out of upcycled newspaper. You can also start some shallow seeds in egg cartons, but I did not experiment with this (though I may next year for my leafy greens). Best of all, newspaper pots and egg cartons are biodegradable, so they can be planted directly into the soil.
Don’t crowd your pots
When I started my first few pots, I dumped a bunch of seeds into a single pot hoping that more seeds meant more likely to thrive. More seeds mean more chances of success, right? After a long evening spent thinning my crowded seedlings into new pots, I can tell you that you only need a seed or two per pot or pod. Trust me, it will save you time in the long run.
Don’t water every day
Overwatering is one of the primary ways that well-intentioned growers kill their fledgling plants. Admittedly, I am a little guilty of loving my seedlings to death, especially when it comes to watering. Check the dampness of the soil with your finger before you water to make sure it is totally necessary. If the soil emits excess water with the pressure of your finger, wait until the next day to water again.
Experiment with your windows
I was so sure when I started growing my seedlings that my kitchen window, which faces directly south, would be the perfect spot. After a few weeks, I noticed that my seedlings were leggy and thin. Turns out, a tree in my neighbor’s yard shaded my so-called “sunny” window most of the day.
Eventually, I figured out I had to move my trays to the southeastern facing windows in my living room and bedrooms, which received considerably more sunlight during the day. Make sure you are familiar with the microclimate of your seed starting space, especially if you do not have grow lights. Speaking of which…
Invest in grow lights and heat pads
Yes, I know this is a controversial topic amongst seedling growers, but especially in Northern regions that receive considerably less sunlight during those late winter and early spring months, I feel grow lights and heat pads offer a much-needed boost to fledgling seedlings. I had neither of these things this year, and they would have been helpful to make sure my stems grew up sturdy and straight. Most of my tomato seedlings were too leggy to thrive, and barely any of my hot pepper seedlings survived this year. I’m willing to bet it was because they did not have the heat and sun required by the warm weather plant. Meanwhile, my gardening friend who used grow lights for his seedlings has more hearty tomatoes than he knows what to do with. You better believe I’ll be trawling thrift stores, Craigslist, Facebook Marketplace and end-of-season garden supply store sales to stock up on materials for next year.
Have a seed sitter
Seedlings need attention. When I went to my parents’ house in Virginia for a few weeks this spring, I made sure I had a reliable seed sitter to check in on my seedlings every other day. Maybe even find a gardening friend who can be bribed with a few free plants.
Harden off your seedlings
When winter finally warms to spring, it is easy to get excited, jump the gun and start transplanting your hard-raised seedlings. Trust me, though, you have to bring your seedlings outside during the day and back in at night — a process known as hardening off — for at least a week before planting them in the ground. If you run a desk fan during the day on your seedlings before you start the hardening off process, even better. The process helps the tiny plants develop a sturdy cuticle layer that will protect them from the elements. I learned that the hard way with some ill-fated cucumbers.
In general, do not rush to transplant, especially if you live in a colder climate. No matter what your last frost date is, keep a close eye on the weather, especially for sensitive summer crops like tomatoes. It is better to start a little late than to lose all your seedling babies.
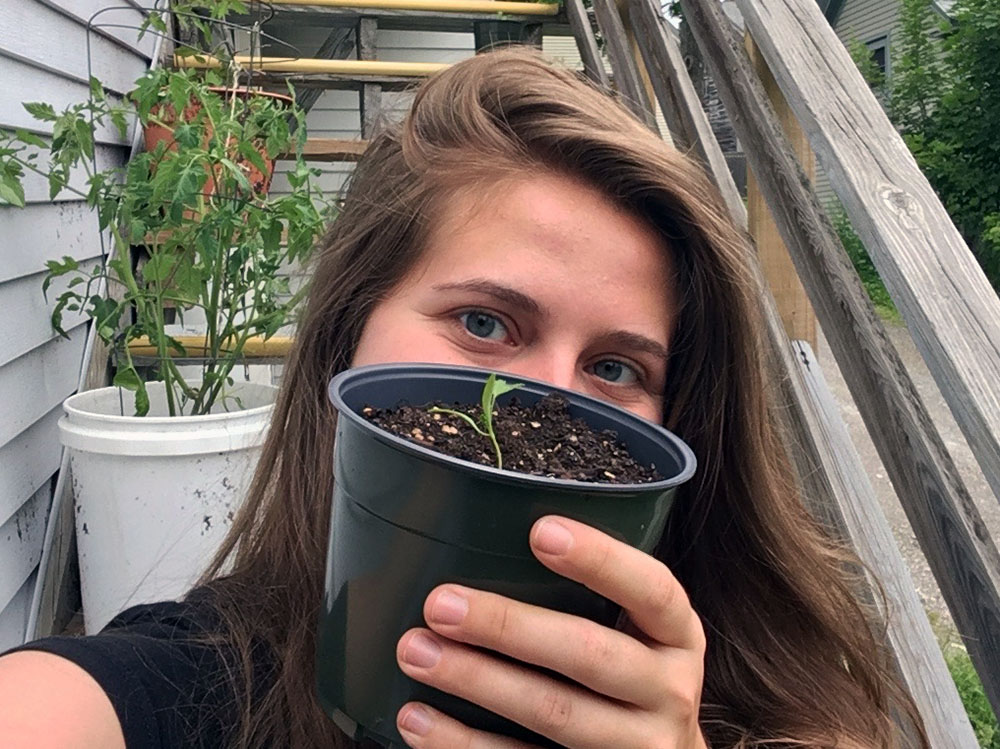
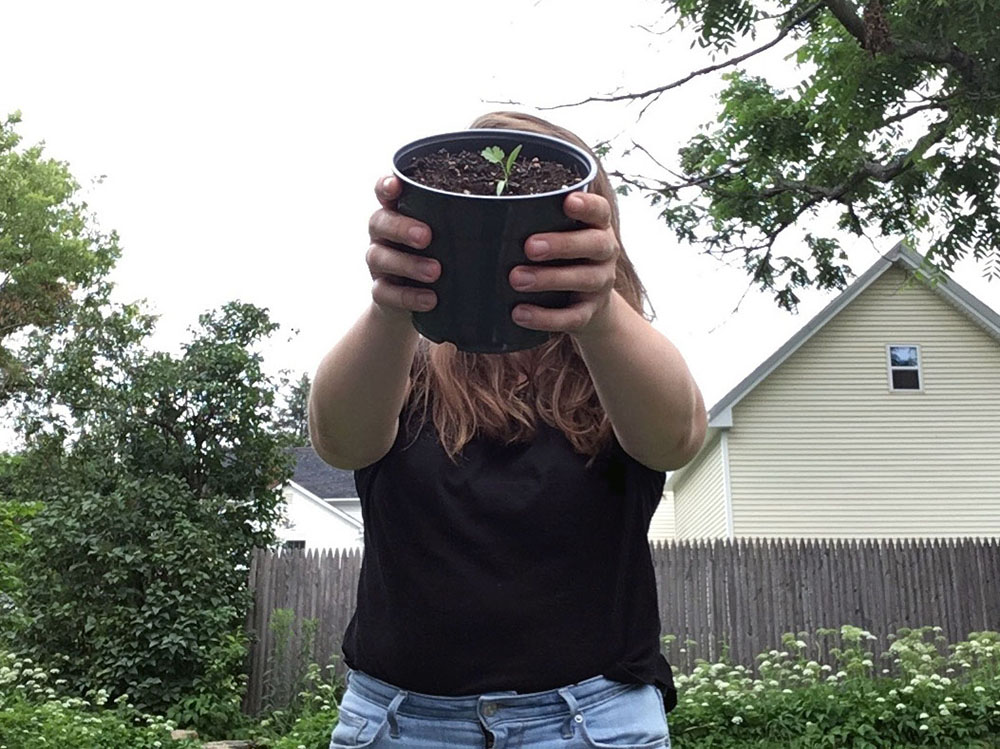
My seedlings do not look quite as hardy as the ones that my community garden friends have in their plots, but I’m proud of them like they are my own children. I can’t wait to take what I learned this year for an even stronger, more diverse garden next year.