
This story was originally published in April 2020.
If you have suddenly become interested in gardening, then it is likely that you have already embarked on starting your seeds indoors in preparation for spring. Some plants in particular — those that are less cold hardy or have longer growing seasons — must be started indoors in Maine before transplanting them outside once the soil and weather warms.
Getting started with gardening can be intimidating and expensive at the outset, though. Plus, gathering all the supplies you need to start seeds can be daunting.
When it comes to seedling containers, though, you can save some money on gardening supplies (and, in some cases, reduce the use of plastic in your garden) by making seedling pots and trays with items that you already have around your house. Here are six upcycled materials you can use as seedling containers.
Egg cartons & egg shells

Egg cartons are a wonderful seed starter with perfectly sized receptacles for tiny seedlings. Make sure you have some sort of waterproof tray to set the egg carton on. A seedling tray will work well here. If you are looking for a DIY alternative, you could use a trimmed plastic produce container, plastic plates with elevated rims or a high-sided sheet pan. If you are using a plastic or foam carton, you can also use the top of the egg carton as a tray, but then your seedling tray will not be biodegradable. The benefit to biodegradable egg cartons is that they can be directly plantable come transplant time.
You can also use eggshells as miniature seed starting pots, or biodegradable liners in your egg carton tray if it is plastic or foam. When you crack an egg, try to keep at least half of the eggshell intact. Rinse it out with water, use a pin or thumb tack to add drainage holes in the bottom, and then add soil and seeds. When transplanting, you can plant the shell, soil and seedling directly into the garden.
Ice cube trays
Maybe you recently installed an ice making refrigerator and have no use for those old ice cube trays. Luckily, ice cube trays are the perfect size for seed starters. Just poke a drainage hole in the bottom of each compartment and fill with a little seed starting soil and seeds.
Unlike some of the other methods on this list, though, ice cube trays are generally not biodegradable. When it is time to transplant your seedlings into the garden, carefully pop out each seedling and place them in the garden soil (or container garden, if that is the route you plan to go). For this reason, ice cube trays might not be the best pick for seedlings with sensitive roots like squash and cucumbers.
Cardboard toilet paper or paper towel tubes
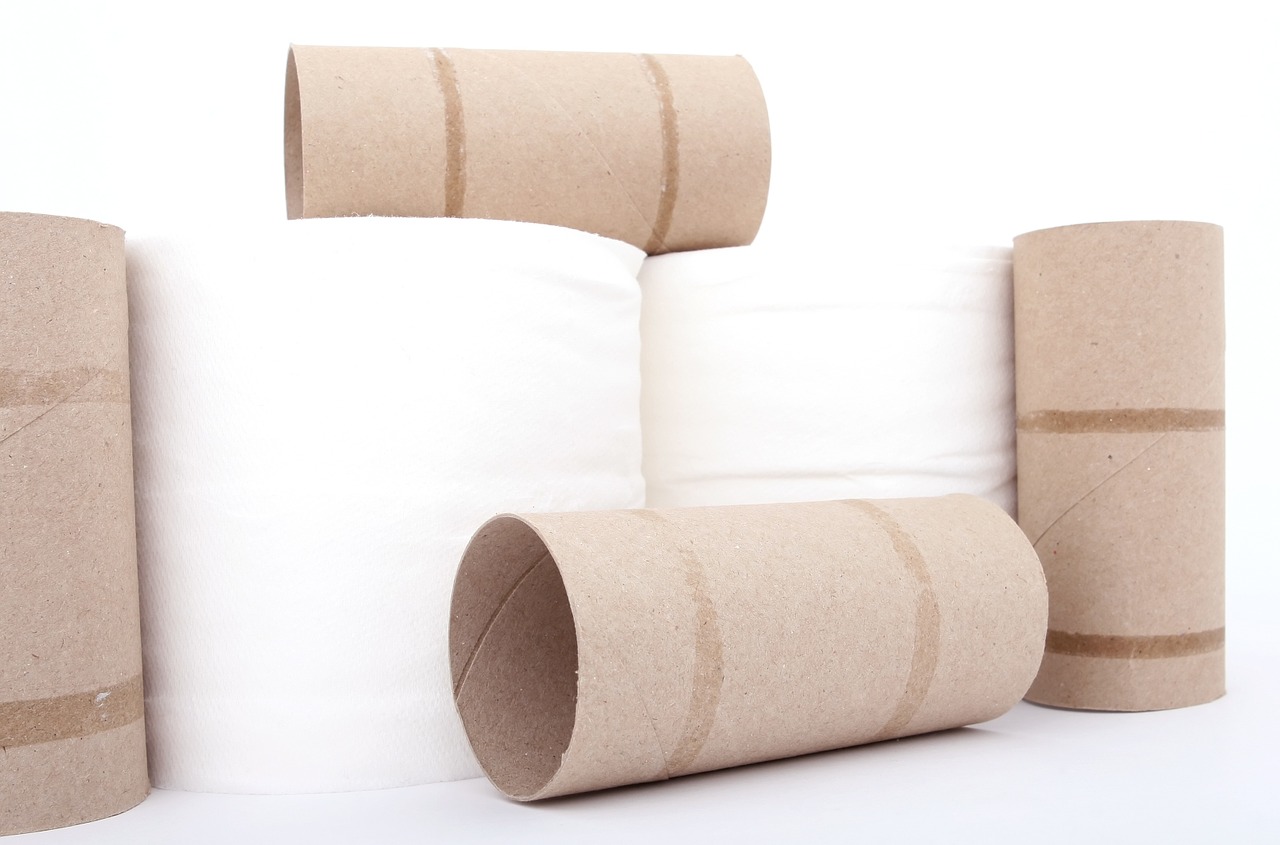
Toilet paper is a precious commodity right now (and you might be considering using toilet paper rolls as toilet paper replacement), but if you have toilet paper or paper towel tubes to spare, they can be great for starting seeds. Place an array of halved cardboard toilet paper rolls (or quartered, in the case of paper towel tubes) on a waterproof tray and fill with seed starting mix and seeds. You can also cut several vertical slits in the bottoms of the tubes and fold the flaps to form the bottom of the pots, origami-style, though you will still need a waterproof tray to prevent them from leaking all over the surface where you choose to keep them. As an added bonus, these cardboard pots are also biodegradable, so they will work great for seedlings with sensitive roots.
Plastic fruit, Jello, pudding or yogurt cups
Single-serve plastic containers for fruit, Jello, pudding or yogurt are useful seed starters as long as they are thoroughly cleaned in order to kill any microorganisms that might harm the seed. To do so, scrub the container thoroughly with soapy water and dip it in a solution of one part household bleach and nine parts hot water, then air dry. Once the container is clean, poke several drainage holes in the bottom, fill with soil and seeds and place onto a waterproof tray. Because these containers are not biodegradable, you will squeeze the plastic container gently and remove the plant from the container before transplanting, as you would with a store bought plastic seedling pot.
Newspaper seedling pots
Once you’ve caught up on the news of the day, turn that out-of-date newspaper into biodegradable seedling pots. Simply fold, roll and tape (masking tape is best here because it is biodegradable) the bottom of the newspaper around a can or glass in order to form it into a seedling pot. Remove the mold, and voila: a simple, upcycled seedling pot. Best of all, you can just plant the whole thing when you are done (just remove the tape from the bottom before you do if you did not use masking tape), which is great for plants with fragile roots like cucumbers and squash.
Plastic soda bottles

If you are feeling at once ambitious and lazy, plastic soda bottles and water bottles can be turned into effective self-watering seedling containers (though, if you use the former, make sure you thoroughly wash it beforehand to avoid any nasty sugary residue).
Cut a plastic bottle in half, drill or poke a hole in the cap and run yarn, string or strip of fabric half way through the hole to serve as a wick.

Fill the bottom half with water and place the top half upside-down in the bottom half, so that the wick is submerged in the water.
Finally, fill the top half with potting soil and plant your seeds. Depending on where you keep your container (and how thirsty your seedlings are), you may need to fill the bottom reservoir once or twice, but otherwise, these seedling pots are fairly self-sufficient.
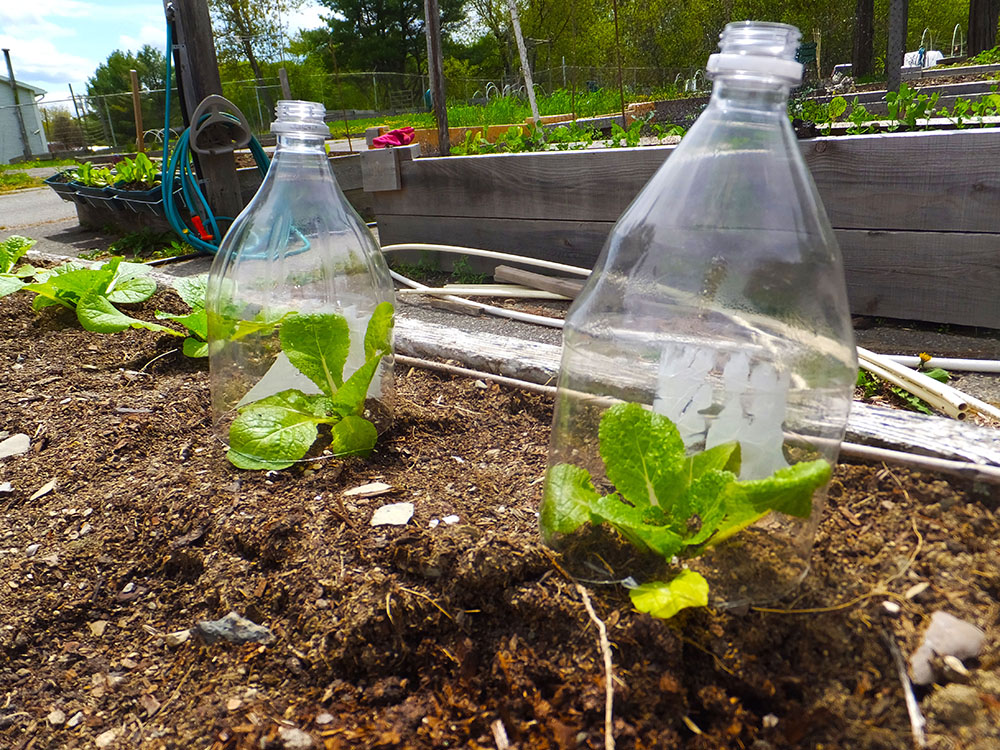
Plus, after you transplant your seedlings, you can also use the top half of that soda bottle as a makeshift cloche to protect the sensitive seedling from unexpected cold weather.