I tried making sourdough starter from scratch. Here’s how it went.
When I lived in the Bay Area, I would take the train to San Francisco every Friday for a long walk along the harbor. Sometimes, I would walk past the piers to Boudin Bakery to buy a loaf of their famous sourdough bread. The secret to their savory, springy, seaside sourdough is a 170-year-old sourdough starter that they have continued to maintain over generations. One of the owners even saved the “mother dough” from the catastrophic 1906 San Francisco earthquake. Making sourdough starter for myself seemed like a great way to bring some of my West Coast adventures back East.

Sourdough starter (which is somewhat of a misnomer, as it can be used for a variety of breads and baked goods) is fermented dough with active bacteria that make homemade breads more complex, chewy, crusty and flavorful. Sourdough starter also brings a little local flavor to your baked goods — literally. Airborne yeast from wherever you are preparing your starter will incorporate itself into the dough and give it its flavor.
Sourdough has a rich history among homesteaders, especially on the West Coast. Early settlers out West relied on sourdough to leaven bread before commercial baking powder and yeast were readily available. “Sourdough” even became the nickname for California miners who carried sourdough starter in their packs so they could easily prepare bread on the road if they did not have access to materials. They would even cuddle their starters at night to keep the bacteria alive.
There are about as many different techniques for making sourdough starter as there are bakers, and homemade starters are often passed down through generations of breadmakers. There is even a sourdough library in Belgium with over 100 different starters from around the world. Though bakeries will swear by the secret formula, at the most basic level, sourdough starter is made from a combination of water and flour.
For my first time making sourdough starter, I decided to keep it simple and see if I could make a sourdough starter — and a tasty loaf of bread — using the flour I normally buy and the water from my tap.
Learning to try
Months ago, I wrote an article about sourdough starter. I spoke to two professional bakers about their own sourdough starter preparation techniques and had a few key takeaways:
- “Feeding” your starter, or adding water and flour regularly, is essential to maintaining it, especially in the early days.
- The best way to “feed” your starter is the measure the flour and water by weight.
- Starters are sensitive to the conditions of their containers and of the kitchen where they are cultivated.
I decided to follow these instructions from The Kitchn because it used all-purpose flour, which I already had in my kitchen. Using all-purpose flour is not the best starter-making practice — whole grain flour has wild yeast that really kick-starts a starter — but I wanted to give it a shot. I tried not to let the recipe’s three-star rating deter me.
The state of my kitchen was out of my control, but I did find a non-reactive bowl. I chose glass so I could watch the growth of the starter over time. One of the chefs I spoke to for my article said that he had his students mark the level of their starter on the outside of the bowl as it grew in order to track its progress. I decided to do the same.
Lastly, I needed to decide what I wanted to make with my starter once it was ready. I chose this recipe for basic sourdough bread from Cultures for Health. Again, I wanted to keep it simple. It’s like ordering a cheese pizza at a pizzeria to judge the quality of the establishment writ large. (Should I have used my sourdough starter for pizza dough? Maybe next time.)
A trying experience
Every day over the course of about a week, I carefully measured four ounces of water and four ounces of flour using my kitchen scale to start and then feed my sourdough starter. I marked the side of the bowl with a dry erase marker to watch its growth. I kept the starter covered with a moist towel in a glass bowl on top of my refrigerator (pros recommend this spot for home bakers making sourdough because the inner ‘fridge machinations keep that spot warm).
Exactly weighing the ingredients was a bit of a pain. As time went on, I was a little less precise about my flour-to-water ratio than perhaps I should have been. I also did not find out until about day three that my measuring cup had a 4-ounce marker for water. That made the feeding process slightly easier. (I should note here that one fluid ounce of water — which is what the measuring cup indicates — is equal to about one-and-four-hundredths ounces of water, but I continued to weigh my liquid before adding it just to be sure and the difference wound up being negligible.)

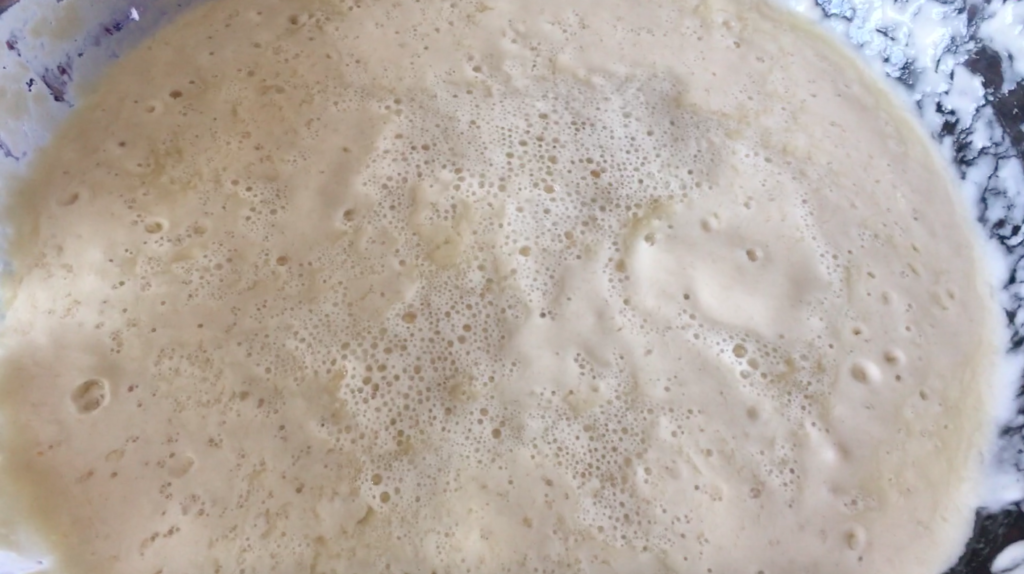
As the starter bubbled, frothed and emitted and scrumptious (yet, slightly disgusting — scrumpsgusting?) sour smell, I couldn’t help but feel giddy. I was surprised, though, that I did not have any excess starter to remove, which the experts and instructions alike agree is an essential step to prevent it from overflowing. My starter never really doubled in size the way the instructions (and the professional bakers I spoke to) said it should have. My bowl may have been too deep and wide to properly demonstrate the growth. Perhaps I should have tossed some starter away anyway to keep my formula balanced.
At that point, the starter was ready to use, but I wasn’t quite ready to make bread. I moved the mixture to the inside of my refrigerator (in a somewhat vintage-styled latched container that gave me the kind of California miner vibes I was going for). When I was ready to commit to breadmaking, I let the starter sit at room temperature (which the recipe and the bread experts at King Arthur Flour alike recommend) for about a day to get it ready.
The bread required more sourdough starter than I expected, but I still had more than half of my starter leftover. My starter was sticky, goopy and hard to scrape off the measuring cup. (Here’s a kitchen hack: spraying measuring cups with cooking spray before scooping sticky ingredients helps the substances slide off easier. Perhaps I will try that next time.)

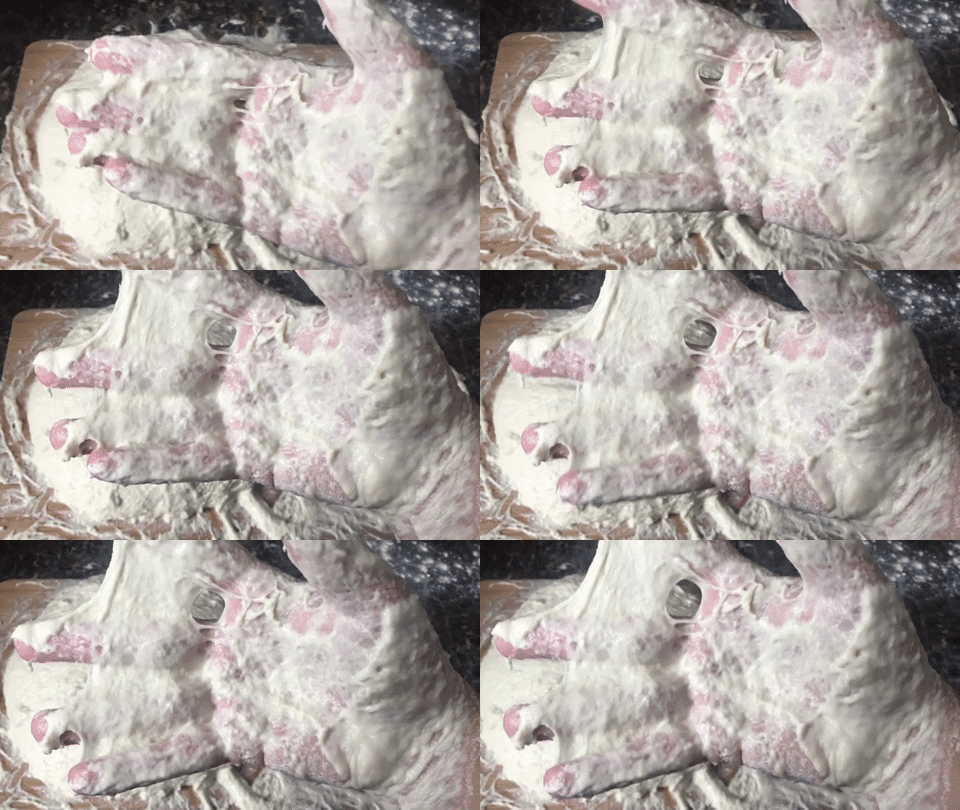
Either my sourdough starter was too soggy or I added too much water to my dough, but regardless, the bread was extremely moist and difficult to knead. My fingers looked like they were melting after they emerged from the goop. I persisted, though, and the bread shockingly emerged from the oven as a crusty, springy loaf.
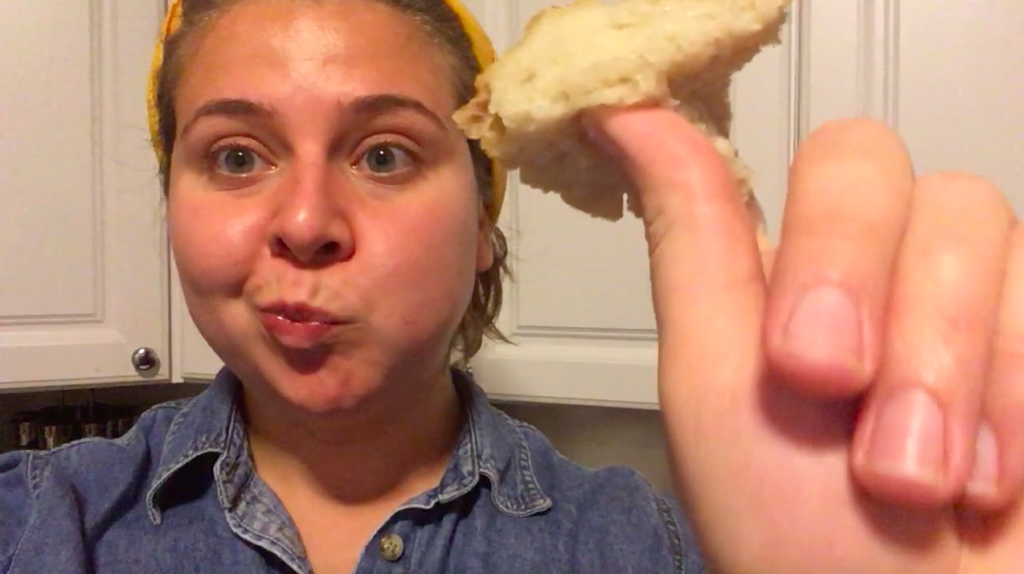
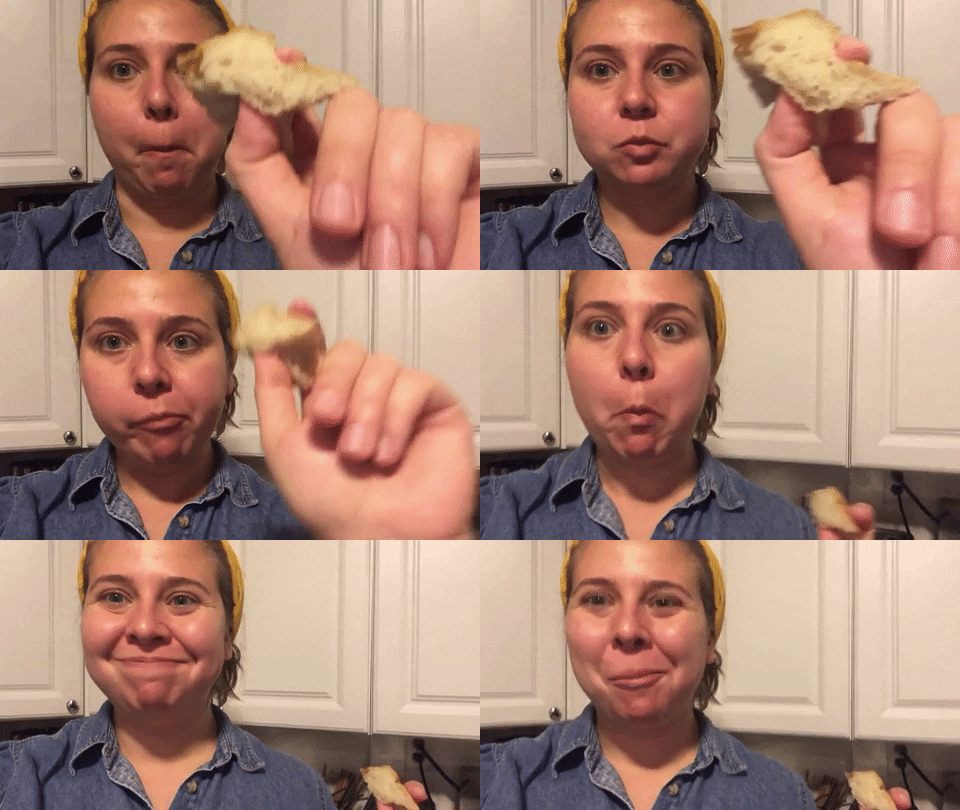
Ok, it was more spongy than springy. Also, it was too moist to toast, and strangely lumpy and pockmarked. Still, my sourdough bread was flavorful and delicious. Despite the mishaps, sourdough starter seemed to make my breadmaking blunders a little more forgiving than they would have been otherwise.
My tried-and-true takeaways
Sourdough starter is a commitment. Even after the initial preparation is done, you have to be diligent about feeding it if you want to keep it alive. I have to admit that I didn’t take care of my sourdough starter for long after I finished. I kept forgetting to feed it. A weekend away without a starter sitter put the final nail in the coffin. When I returned, my leftover starter was a slushy, stinky mess.
Still, if you like to bake, making sourdough starter is worth the effort. It is versatile, and it makes the breadmaking process a little more streamlined and lenient.

It is also fun to experiment with sourdough starter. The next time I make sourdough starter (and there will be a next time, now that my original has gone to bready heaven), I want to try a different kind of flour, and perhaps funky mix-ins like pineapple juice or raisin water. I can’t wait to find my own secret formula: Sam’s Sensational Sourdough Starter. Eat your heart out, Boudin.
