
Don’t let a perfectly good garment go to waste when it needs a small repair! Here’s how to sew a button back on.
We’ve all been there. You’re getting dressed, going about your buttoning, when you realize one is missing. What to do?
For many, that shirt will be thrown to the wayside, cast to the chair in your room that collects the clothes that didn’t make the work outfit cut. But for those who have some basic sewing skills — and happen to have saved the packet of spare buttons the shirt came with ― replacing the missing button can be a quick fix.
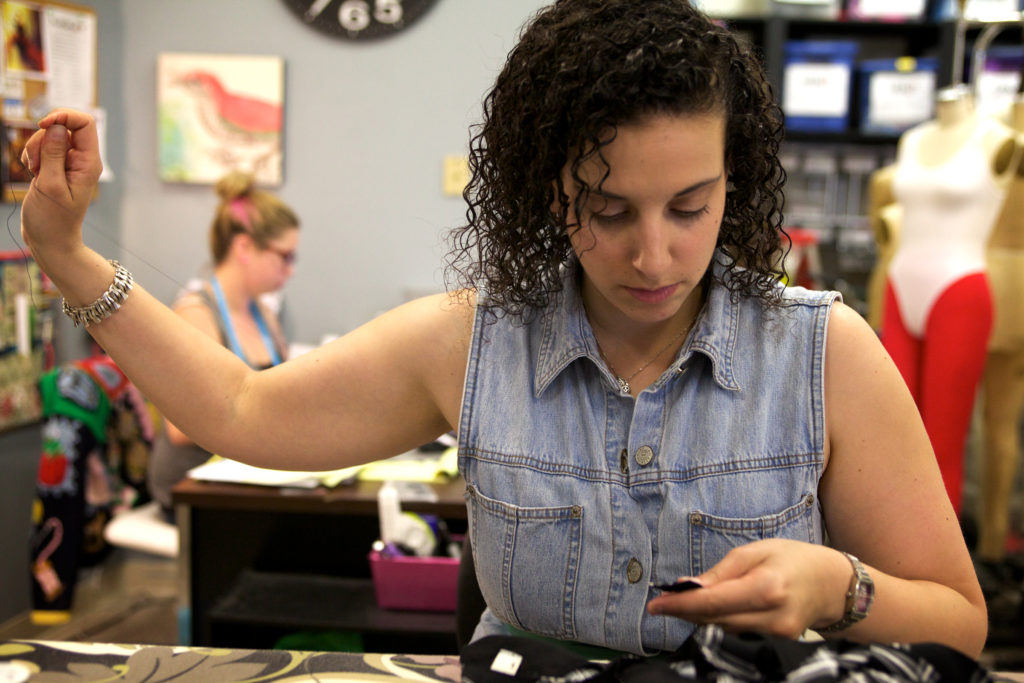
Linda Cummings, a career seamstress, recently shared some of her sewing wisdom. While newbie sewers can’t be expected to have the button replaced in the speedy 60 seconds it took Cummings, it’s easy to get the hang of the task after some practice rounds.
What you need to sew a button
The basic tools necessary for the small sewing project are a needle, thread that matches the color of the clothing item and a button that is the same — or as similar as possible — as the other buttons on the garment.
Instructions
When threading the needle, Cummings suggests doubling the thread, so two strands are brought through the eye of the needle. When knotted together there is a total of four strands of thread. This reinforces each stitch made to attach the button to the garment and will allow the sewer to make fewer stitches in total. Cummings also suggests working with as long a strand as thread as you are comfortable with. For a simple button, having the needle threaded with strands the length of your arm should be more than enough.
To start, place the button on the front of the garment, where it needs to be placed in line with the other buttons. Bring the needle through back of the clothing item and through one of the button’s holes.
The pattern in which the other buttons are sewn will dictate whether or not you sew the button on in an “X” pattern or a square pattern between the four holes of the button. If the button has four holes, Cummings recommends attaching it to the shirt by sewing in an “X” pattern because it will hold better.
To make the “X” pattern, once you have the button threaded through one hole bring the needle over the top of the button, go to the hole diagonally from the threaded hole and bring the needle back through the garment.
When coming back up through the garment with the needle, repeat the stitch on the two holes that have already been sewn to the garment. Once that is complete, repeat the same stitch twice on the other two holes.
One the “X” is complete, bring the needle back up through the garment and hold the button up slightly on one side. This allows you to wrap the thread around the stitches underneath the button to prop it up, ensuring it is not too tightly attached to the garment to go through the buttonhole.
To finish, tie two knots tightly underneath the button and cut off the thread still attached to the needle.