
Winter is here, and ‘tis the season — for lip balm, anyway. The cold, dry air chaps my lips faster than autumn in Maine gives way to the first frost. No matter what the weather, though, I feel like I’m missing a limb if I don’t have a stick of Burt’s Bees lip balm with me. The minty sticks are pretty pricey, and given that I am as likely to lose lip balm as I am to complain about winter, making homemade lip balm might help ease my dermatological and financial pain.
Chapped lips, also known as cheilitis, is often a result of cold, dry, windy weather, though it can also be caused by exposure to sun and salt air as well. The skin on your lips is thinner than elsewhere on your body (the reddish blush of lips is actually just semi-exposed blood vessels, so good luck ever seeing kissing the same way again), and contains fewer moisture-sealing oil glands. Lip balm provides a waxy layer to prevent moisture loss in dry conditions.
Lip balm was allegedly first marketed in the 1880s by Virginia pharmacist Charles Browne Fleet, though Lydia Maria Child recommended earwax as a treatment for cracked lips in her popular book, “The American Frugal Housewife,” more than four decades prior (I’ll, uh, try that another day). Fleet his balm recipe, which was eventually used to develop the popular lip balm brand, ChapStick.
For a while, the Internet hive mind was abuzz with rumors of lip balm addiction. There is even an entire community called Lip Balm Anonymous. I may or may not have considered joining at one point in my life.
Myth, busted: there is no good evidence that lip balm is chemically addictive, nor does it secretly dry out your lips as some suggest.
Lip balm can be habit-forming, though. Ingredients like menthol and camphor in some commercial balms can cause a subtle, irritating allergic reaction called contact dermatitis. Most people who respond to these ingredients this way don’t actually know it, so they think their lips are becoming chapped again, and apply more of the balm.
Proximity to your tongue doesn’t help, either. Saliva contains enzymes for digesting food that can break down the sensitive skin and lead to drying or cracking. Tasty flavored chapstick can exacerbate the problem.
Lip balms with simpler ingredients, like the ones you can make at home, are less likely to cause psychological dependence, allergic reactions or compulsive licking. If I held the secret to soothing salve in the form of homemade lip balm, too, maybe I would feel less distress when I inevitably misplace it.
Learning to try
As I scoured the Internet for lip balm recipes, I actively decided to avoid ones that involved expensive creams and essential oils. I eventually landed on these instructions from the blog Live Simply, which only had three basic ingredients — body butter, beeswax and oil — with the potential for infinite variations if I decided it was to my liking.
Finding shea butter was simple. The moisturizing salve is available at most drugstores and big-box retailers.
Beeswax was another issue. I decided to put extra effort into finding beeswax pellets. I learned from my experience making beeswax food wrap that not needing to grate the beeswax myself would save me considerable time and pain (I lost some knuckle skin in the process that still hasn’t quite recovered). Previously, I struggled to source the pellets, but eventually, I found them at my local health food store, the Natural Living Center. Pro-tip to local beeswax crafters: that’s probably where you should look first.
For my third ingredient, I chose olive oil. My southern Italian heritage means the stuff basically runs through my veins, so why not use it on my lips?
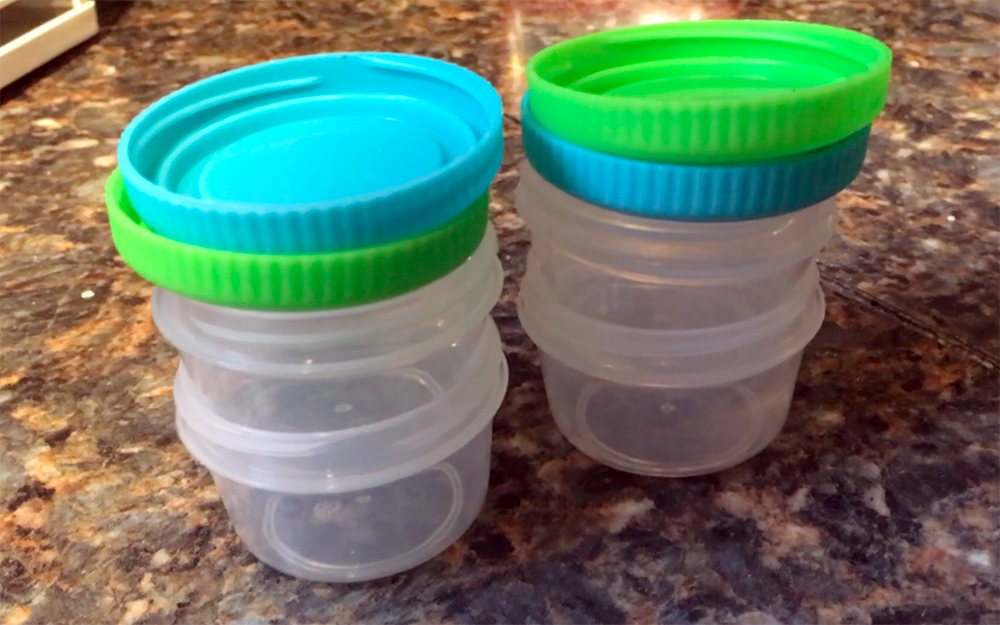
The final step was to find a container for my lip balm. I didn’t have any empty lip balm tubes or tins (I’m much more likely to lose them before I get to that point), but I did have some plastic salad dressing containers that were about the right size. Plus, they were unused; my optimistic bid to encourage myself to pack more lunchtime salads had failed, but the miniature tubs would find new life holding my homemade lip balm.
A trying experience
The instructions were simple: combine the three ingredients and melt them in a glass bowl over warm water, then let the hot liquid cool and set in its container before applying in your lips.
The only challenging part about combining the ingredients was scooping out the shea butter, which, in my opinion, should be called “shea wax” to more accurately reflect its consistency. After a few tries, I was finally able to scrape out a few tablespoons of the stuff, but it made everything — including my camera and tripod — slippery and slick.
The only glass bowl that I had was this enormous Pyrex bowl, so I had to find an equally-enormous pot to fit. The dimensions were hardly Pinterest-worthy. I felt like a witch with a cauldron on the stove.
Still, it worked well, though the ingredients took longer to melt and set than I expected. It took between 10 and 15 minutes for everything to melt down fully, and between 30 and 45 minutes to set (perhaps longer — I have to admit, I probably should have been a little more patient, because my lip balm had a slightly mushy consistency when I applied it).
My homemade lip balm was a little more oily than store bought lip balm, though, and left a persistent oily residue on my fingertips. When I applied to my dry, puckered lips, though, I immediately felt the natural soothing and moisturizing qualities of the olive oil and shea butter. I loved the flavor (maybe a little too much — I caught myself licking it off once or twice).
My tried-and-true takeaways
Homemade lip balm is fun and easy to make. I probably would choose a slightly less-scrumptious flavor to avoid counterproductive lip licking. A floral essential oil might be appropriate, after all — if I could find a budget-friendly option.
Also, I generally prefer tube chapstick to tub chapstick because slimy fingers are not ideal for typing, though I am proud of my creative repurposing. I scoured the thrift store for some tiny tins (I think vintage pillboxes or mint tins would be the ideal size), but I couldn’t find any. Next time I happen upon some, I will be sure to pick them up and save them for my next homemade lip balm experiment.