How to prepare a raised garden bed for winter

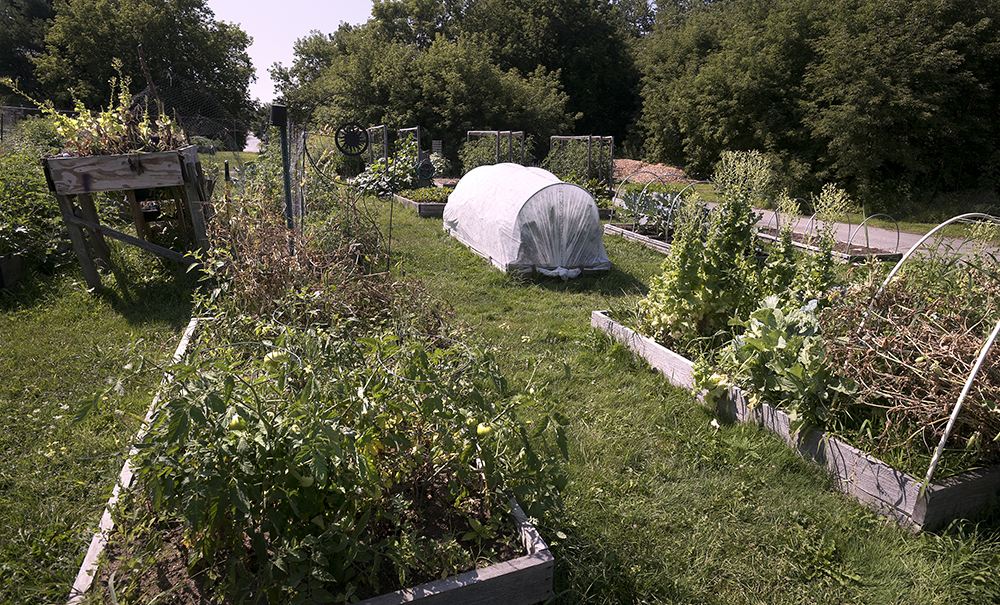
When the gardening season comes to an end, it is easy to get distracted from the pre-frost clean-up. Learning how to prepare a raised garden bed for winter, though, is essential to prepare for the season to come, even when spring is months away.
Throughout autumn, gardeners with raised beds should take several steps to ensure their garden beds are ready for next year’s seeds and seedling transplants.
“It’s an ongoing project,” said Kate Garland, horticultural specialist at the University of Maine Cooperative Extension. “I just always think of it as a to-do list for the fall.”
Properly caring for raised garden beds before winter settles in will promote soil health, ward off weeds and prevent diseases in next year’s crops. Here is how to prepare a raised garden bed for winter.
Step 1: Remove weeds
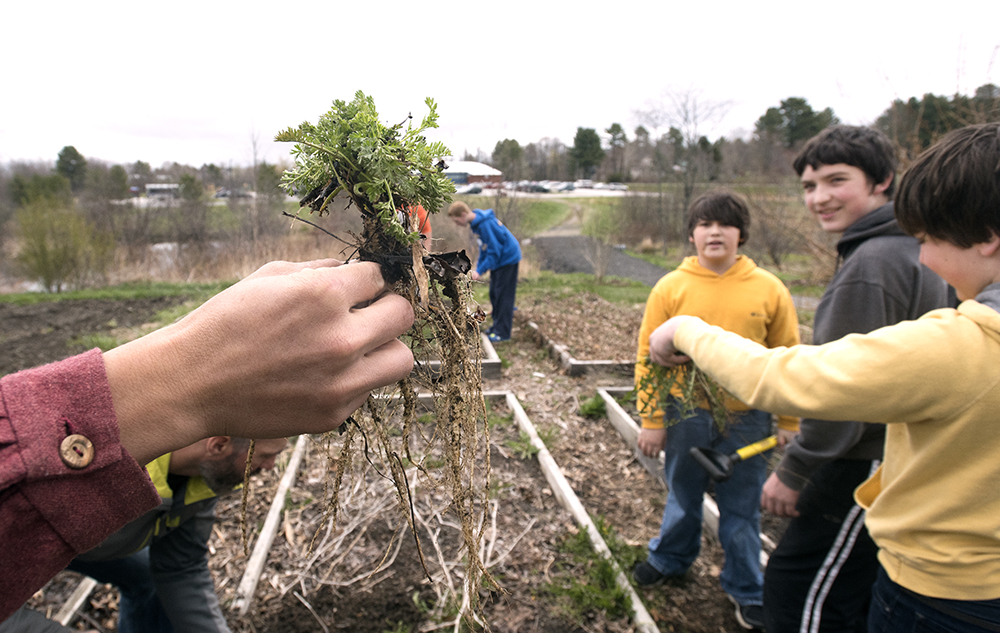
Weeding is essential well into the fall, even when the majority of your crops have stopped growing. Not only can untended autumn weeds harbor disease, but they can lay the roots for future weed problems.
“This is when people are ready to be done with weeding, but this is probably one of the most important times of year to be weeding,” Garland warned. “A lot of our weeds are setting seed right now. Some of the seeds can stay viable for 30 to 40 years or longer.”
For the parts of your raised bed that’s simply carpeted in weeds, cover them with black plastic or a layer of cardboard and leave it in place through the winter season to choke out existing weeds and suffocate sprouting weeds.
Some gardeners will till the soil to prevent weeds and expose harmful pests, but Garland suggests avoiding tillage in your raised beds as much as you can for the sake of soil health.
“There are some scenarios where [tilling] can make sense, but it doesn’t seem to make a lot of sense in raised bed settings [unless the soil is really compacted],” Garland said. “If you can avoid tilling as much as possible, your soil and your gardens will thrive in the long run.”
Step 2: Clean up dead plants

After the first frost, you want to start clearing spent and rotting plant material. Before you get started, though, Garland recommends making a few notes in your garden journal and taking some photos.
“Those photos are really helpful for the planting process in the coming year,” Garland said. “You think you’re going to remember where you planted everything but it’s just good insurance to have that photo record to make sure you’re rotating crops. [It also helps you] remind yourself of what you really liked in your garden and what you didn’t like, or maybe what diseases you had that you didn’t identify.”
Aside from the unappealing aesthetics, old plants can harbor pests and pathogens. Healthy vegetation can be added to your compost pile, but plants with mold or blight should be disposed of with the household trash or burned to avoid spreading disease.
“Harvest as much as you can before that, though,” Garland said. “With your tomatoes, if you happen to have a lot of green tomatoes, it’s OK to harvest those and let them ripen off the vine. Don’t just toss those in your compost pile.”
Some crops will still continue to grow and sweeten a few weeks after the frost — root crops like carrots, for example, or some leafy greens like kale — but make sure you remove the unharvested material before the ground freezes.
“That includes picking up those rotten tomatoes,” Garland said. “If you’ve grown tomatoes for more than one season, you’ll know those seeds from your little tomato plants can stay viable during the winter and become weeds themselves.”
If your plants are disease-free and you do not want to disturb the soil, consider cutting the plants off at soil-level and leaving the roots in the ground.
The cutting method has several advantages. Garland said that in one of her garden plots, she has a black plastic tarp with holes carefully cut out for transplants that she wants to use again next season.
“In that particular scenario, I didn’t want to yank out that plants and rip out the plastic,” Garland said. “I’m hoping I can tuck in a seedling next to the old stump [next year]. I’m minimizing the disturbance to the soil and the black plastic, [and] over the next year that stump is going to break down.”
Cutting the plants at the soil line will also prevent additional disturbance to the soil in your raised garden bed. It is, however, more time-intensive than simply pulling up dead plants.
“It’s a lot more work to cut things off than to yank things out,” Garland admitted, “but if you have the time to cut them off at the soil line and you’re working on a smaller scale garden, try it. You’re disturbing the soil a little less.”
Step 3: Add compost and other organic material
Adding a layer of compost in your clean raised bed will help ensure a nutrient-rich environment come spring.
“Adding organic matter to your soil would be a logical next step,” Garland said. “If you add organic matter in your soil, just top dress it. During wintertime, the natural cycles of freezing and thawing will help work that material in. When you go to plant, that added material is going to get added and incorporated into your soil as well.”
Garland said that unlike in-ground garden beds which are bolstered by natural soil, raised beds may experience some shrinkage in the soil over the course of the year. In that case, she recommended adding additional amendments to the soil in your raised garden bed.
“If your garden has a large amount of shrinkage, that might mean you need more stable material,” she explained. “Loam is the Goldilocks combination of sand salt and clay for good plant growth. That’s a good material that won’t go away and helps keep a nice volume of material in your raised bed.”
Step 4: Plant cover crops, or add mulch

Cover crops prevent erosion, ward off weeds and maintain soil health in your raised bed during the winter. Choosing the right cover crop and knowing how to manage it, however, is important. Some cover crops will die during the winter, but others will overwinter and may become weeds.
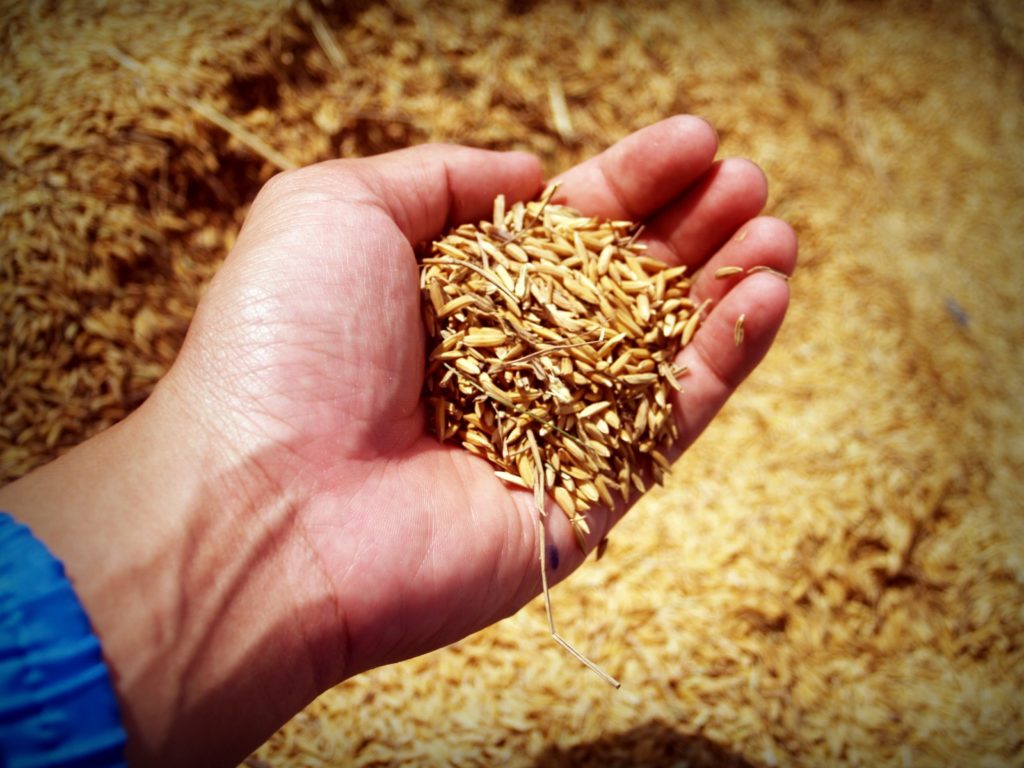
“My favorite [cover crop] for this time of year is oats,” Garland said. “It’s a quick-growing crop that can get established in relatively cool temperatures. It [also] reliably dies back during the wintertime in our area.”
The material left behind by oats is also beneficial to plant growth.
“Oats wind up being a nice little mat of organic dead material on top of your soil and you don’t have to incorporate it in,” Garland said. “small gardeners can make a whole, plant transplant right in dead oats. If you leave that mat on top of the soil it actually serves as a mulch early season. It blocks out the light from the weed seeds that are inevitably in your soil. It helps retain moisture if it happens to be a dry spring. It’s just a good additive overall. It won’t be a good mulch all season long but it’s a good early season mulch.”
Though oats should ideally be sown at the end of August or early September, Garland said she has planted it as late as October with some success.
“You just don’t get as much growth out of it,” she said. “It doesn’t ever hurt to try it, even if it is a little bit late to do it. You could always try a little bit and save the rest of your seed for planting next year.”
If you are not planting cover crops, consider covering the soil to prevent amendments from washing below root level (this especially important in raised beds, which tend to drain more quickly than in-ground beds) or adding a layer of organic mulch. As the mulch breaks down, it also incorporates fresh organic material into your soil.
“The easy thing is adding the leaves from your deciduous trees into your garden,” Garland said. “it’s a great thing to do [if you’re not doing a cover crop]. You’re killing two birds with one stone.”
Step 5: Take care of perennials
Even year-round plants need a little pre-frost maintenance. Fall pruning is beneficial for certain types of perennial plants, but make sure you know the care requirements for the ones in your garden.
“Anything that has woody tissues, you would want to have the pruning requirements for that particular crop, such as blueberries, raspberries or any more woody types of herbs,” Garland said. “But things like chives, you could cut back.”
Blackberry bushes, for example, will benefit from a fall pruning, but raspberry canes continue to nourish the plant’s crown into the winter. You should also wait until spring for blueberries to protect the plant from exposure to disease and stress.
Focus fall pruning efforts on herbs — though Garland said some more sensitive herbs, like rosemary, are better off being dug up and stored indoors — and vegetables like asparagus and rhubarb.
Step 6: Add season extenders

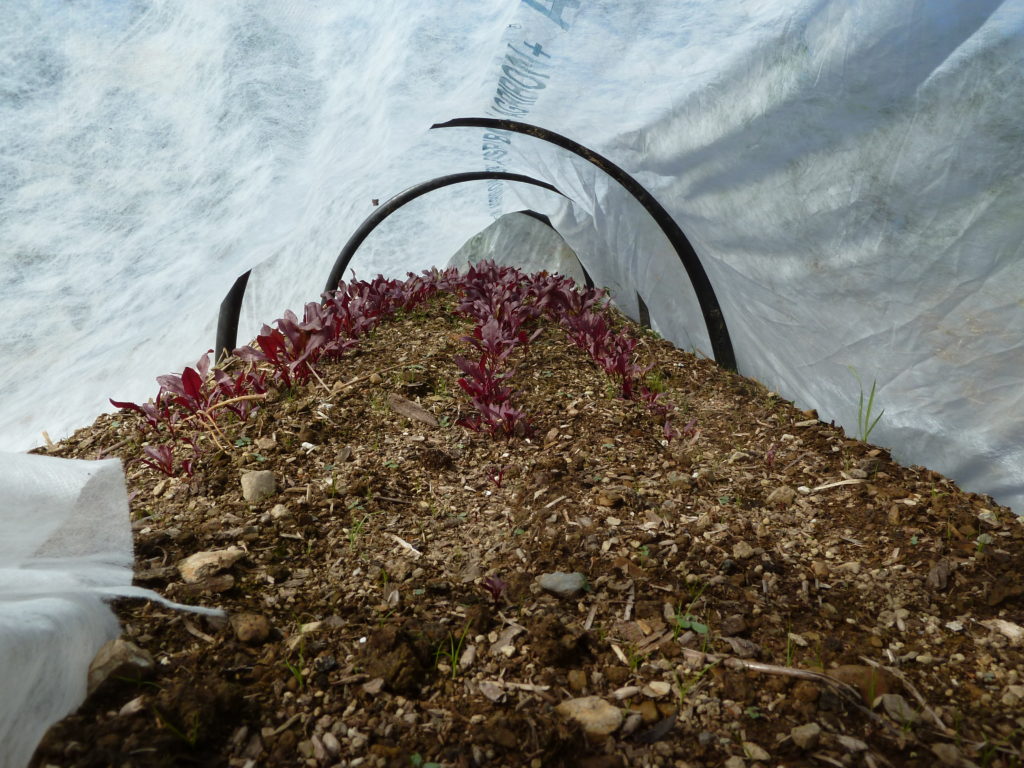
Spring is a busy time for gardeners. While you are taking care of the other winter prep tasks for your raised bed, take advantage of the time to build any season extenders you may want to use in your raised garden bed next spring.
“[That way,] you have your garden prepped so you have a little mini hoop house next spring,” Garland said.
These garden chores may seem tedious, but come spring, you will appreciate the time spent learning how to prepare a raised garden bed for winter.
