How to make sourdough starter
Many bakers have treasured sourdough starters that have been passed down for generations. For homesteaders who haven’t inherited a magical bread-making formula, you can make sourdough starter by following a few simple steps.

At the most basic level, sourdough starters (which is somewhat of a misnomer, as starter can be used for a variety of breads and baked goods) host the microorganisms that make complex, chewy, crusty and flavorful bread. But bread-making is as much an art as it is a science; there are many different recipes and techniques for making sourdough starter.
“There are probably as many different recipes for sourdough starter as there are bakers in the country,” says Dan Tabor, chef-instructor and assistant department chair of baking and pastry arts at the New England Culinary Institute in Montpelier, Vermont. “It depends on how quickly you want it to mature and what you want the final texture to be like.”
Peter Reinhart, chef on assignment at Johnson & Wales University in Charlotte, North Carolina, and author of the book “The Bread Baker’s Apprentice: Mastering the Art of Extraordinary Bread,” says that some starter recipes call for add-ins like yogurt, potato skins, chopped onions, or raisins to catalyze the production of good bacteria. No matter the added accoutrements, the basic ingredients you will need are flour and water.
“When a bakery becomes successful for their bread, everyone wants to know their secret formula,” Reinhart says. “They’re all legitimate, valid methods in the end.”
Some bakeries like to keep two or three types of starters made with different kinds of flour — starter made with rye flour, for example, will have a different flavor profile with more sweetness — but in general, whole grain flour will yield the best results because of its wild yeast content. Reinhart says all-purpose flour will work in a pinch if you tend to the starter properly (for his classes, Reinhart will sometimes create starter with all-purpose white flour, just to show that it can be done).
The first step to starting your sourdough starter is to combine the flour and water (if it is drinkable, tap water will work for your starter as long as it is not so heavily treated that you can smell it) in a non-reactive container that does not contain metals like copper and aluminum, which react with certain kinds of food and often leave a metallic taste. Glass, crockery or food-grade plastic all work well. Some bakers have an aversion to using stainless steel bowls, but they are also non-reactive. Make sure the container is large enough to hold the starter as it grows as well; 1 quart is usually sufficient. A breathable lid is useful, but a clean towel, plastic wrap, or coffee filter will work.
The exact ratio of flour to water will depend on the consistency you want for your starter. Reinhart recommends 80 percent water by weight (Reinhart says about 4 ounces of flour to about 3.2 ounces of water is good to start), or even as far down to 65 percent water to flour by weight for firm starters, which are great for sourdough. Tabor uses equal parts water to flour for a spongier starter suited for moist focaccia.
Stir the flour and water together thoroughly so there are no dry bits of flour. Cover the container loosely (you still want those airborne yeasts to be able to sneak in). Let the mixture sit at slightly above room temperature (about 70 degrees Fahrenheit is ideal) for 24 hours. For the first day, Reinhart will sometimes use pineapple juice or orange juice in place of water; “A little acidity at the beginning helps to further the process along, but it’s not necessary,” he explains.

After the first day, the starter will require daily maintenance until it is ready to use. The basic routine is to stir the starter, “feed” the starter with water and flour, and discard excess starter (or share it with friends) as the mixture grows, bubbles, and ferments. Over the course of the day, most starter recipes recommend that it be fed as much flour and water as it started with. You may have to discard half the starter each day to keep the mixture balance and prevent the starter from bubbling over as it grows.
Like most bakers, Tabor and Reinhart’s strategies differ slightly. Tabor feeds and stirs his starter twice a day: once in the morning and once in the evening. Reinhart, on the other hand, recommends stirring the starter two to three times a day, but only feeding it every other day after the second feeding; be sure to scrape down the sides, he says, to keep nasty bacteria from growing.
“The biggest cause of losing a starter is mold infestation,” he explains. “The best way to prevent that is to agitate or stir the starter at least twice a day so there’s not any organisms that settle on the surface don’t have a chance to get a foothold.”
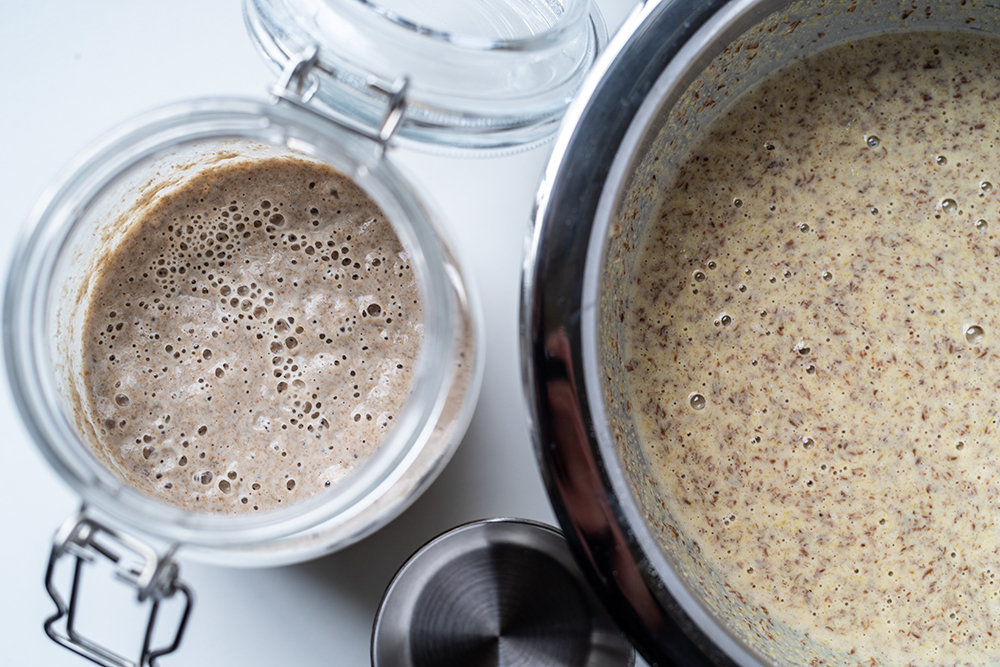
After a few days, the starter will begin bubbling and emitting a pleasant, slightly acidic aroma. It will take between five days to two weeks to prepare a starter from scratch depending on the environmental factors where you live (the temperature, for example, or the microbes in the air; Reinhart explains that in California wine country, where there is lots of wild yeast in the air, sourdough starters can come together in a few days).
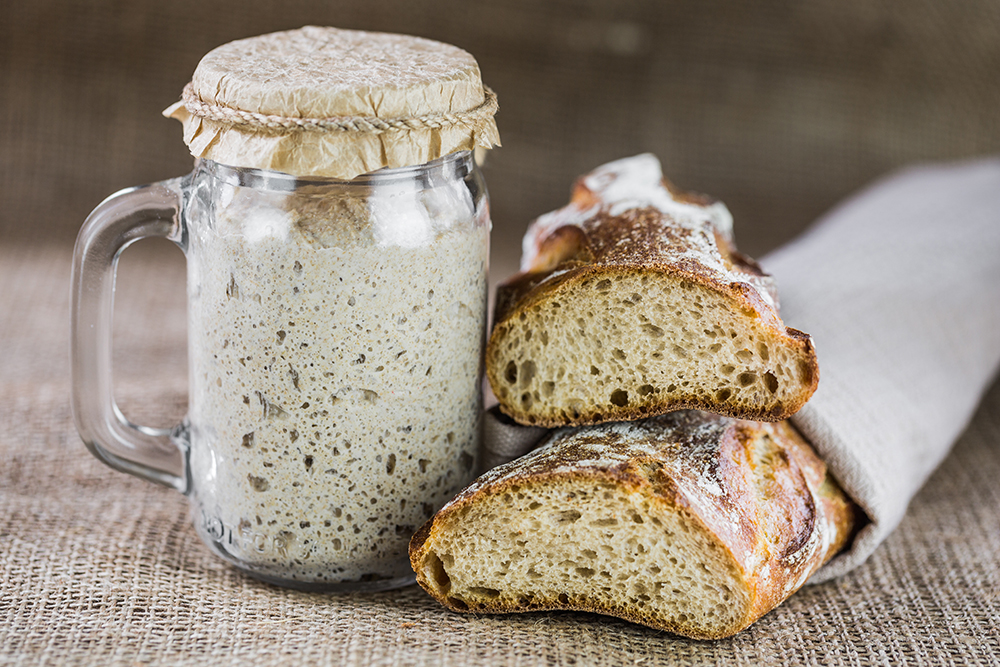
When Tabor makes starter with his students, he has them use a Sharpie to mark the level each day on the outside of the container to see how much it’s increased in volume since the day before. “The rule of thumb is once the sourdough starter has tripled and quadrupled in its volume over a 24 hours period, it is ready to use for your bread,” he says.
Transfer your sourdough starter to its permanent home (cookware or plastic is fine; Reinhart says he even uses deli cups sometimes) and store it in the refrigerator. The cooler temperatures will slow the appetites of the microorganisms in the starter, but it is still important to feed your starter every few days with a scant cup of flour and half a cup of water.
“You have to be dedicated with it,” Tabor says. “If you let it sit for too long without feeding it, the yeast will have consumed all the sugars that are in there in the flour, once the yeast has consumed it all it will die.”
Tabor recommends leaving your starter with a neighbor who will feed it if you plan on going on an extended vacation.
Once you have a starter, though, it will improve the quality of your homemade bread and bring a little local flavor to your baked goods — literally.
“It takes a local airborne yeast and it incorporates it into the dough, and that’s what makes the dough bubbly and active,” Tabor says. “That’s where the flavor comes from.”
