
There’s nothing quite so frustrating and time-consuming as searching for specific tools while in the midst of a project, whether that tool is an adjustable wrench or your favorite garden spade. To solve this problem, people have come up with many clever DIY tool organizer ideas. Yet many of them require special materials and skills to make.
The following are seven DIY tool organizer ideas that require just a few supplies and minimal crafting skills, and they won’t take you all day to make.
1. A pocket wall
I’ve seen a few different versions of this simple organizer, which is essentially a wall of fabric pockets. One design in particular, described by “The Handyman’s Daughter,” is especially easy to make. It’s just a fabric over-the-door shoe organizer that’s been labeled with iron-on vinyl. In this design, labeling each pocket is crucial so you can easily find what you’re looking for. Otherwise, you’d likely search several pockets before finding the tool you need, which defeats the purpose for organizing in the first place.
2. Reuse old jars
This organization method, handed down by dads worldwide, is a simple yet effective way of organizing odds and ends such as bolts and screws. It’s also a great way to upcycle old spaghetti sauce jars or pickle jars. And it might just save you from stepping on a rogue nail. Once your hardware is organized in various jars, you can also be creative with how to store or display them. Some ideas include fixing them to the underside of a shelf using a magnet; placing them on an old rotating spice carousel; and attaching the jars to a board with hose clamps, as shown described by The DIY Playbook.
3. Magnetic strip magic
Magnetic strips or magnetic blocks are commonly used for organizing and displaying kitchen knives, but they can also be used to organize certain metal tools, such as wrenches and pliers. Available at most hardware stores and some houseware stores, these magnets are usually easy to mount on a wall using a strong glue or hardware such as nails or screws (depending on if they have holes or slots of hanging). ManMade offers instructions on how to jazz up a magnetic strip with contact paper so that it appears to be wood. This also may reduce the risk of you scratching you tools when placing it on the magnet and removing it.
4. Get creative with PVC pipes
PVC pipes are relatively cheap and durable. They’re also fairly easy to cut with a PVC cutter tool or handsaw (though you should wear a face mask if sawing PVC so you don’t breathe in particles). So it’s no surprise that this particular material pops up in a lot of DIY projects, especially for making organization systems.
Family Handyman offers tutorials for dozens of DIY projects that involve PVC pipes, including a few different tool organizers. One tool organizer includes pieces of 3-inch PVC pipes to hold drills under a wooden shelf. Another project is to nail short pieces of thinner PVC pipes, cut at an angle, to a board, forming little round cubbies for smaller tools such as screwdrivers.
5. Shelves with cubbies
It takes a little time and effort to put together a special shelf for your tools, but there are some great tutorials out there that can guide you, step by step. Tyson Moore Builds provides a free written and video tutorial on how to build a French cleat tool storage shelf specifically for power tools, and Ben Brant offers a YouTube tutorial on how to make simple pegboard shelves with holes drilled in them for holding screwdrivers.
6. Upcycle an old pallet
Stood on end, a wood pallet takes up little space and is perfect for holding rakes, shovels and other long-handled tools against a wall. Fabulously Frugal provides step-by-step instructions for creating this simple form of organization. The project involves staining the pallet and attaching it to a wall or fence with screws or framing nails.
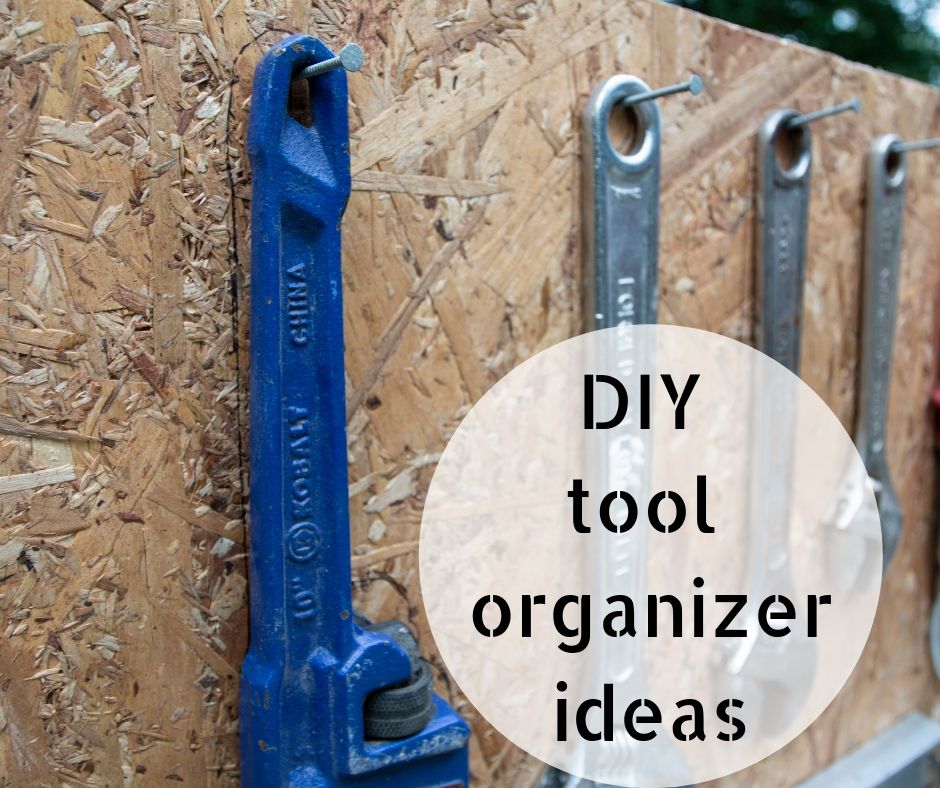
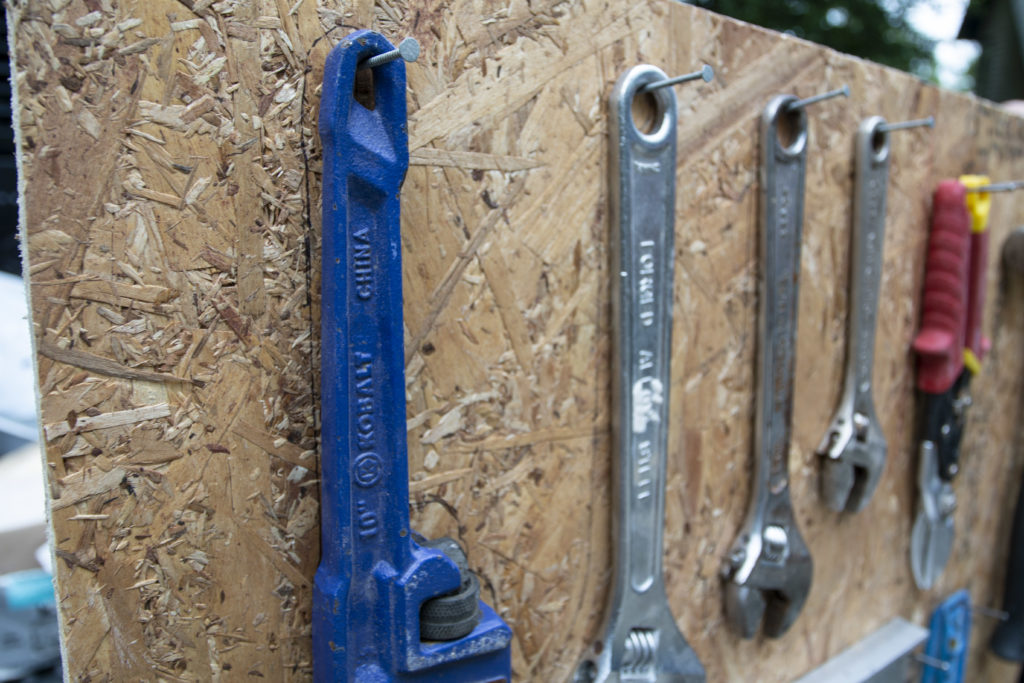
7. Silhouette board
Hanging your tools on a board or piece of plywood with pegs or nails, then outlining each tool, is an easy way to ensure that you put them back in the same place after using them. It’s also an easy DIY project.
Materials:
- A piece of plywood cut the size you need to display your tools
- A Sharpie marker or other writing implement that will show up on the plywood
- Nails (The quantity will vary depending on how many tools you want to hang)
- A hammer (which may be one of the tools your hanging anyway)
- The tools you want to organize and hang.
Directions:
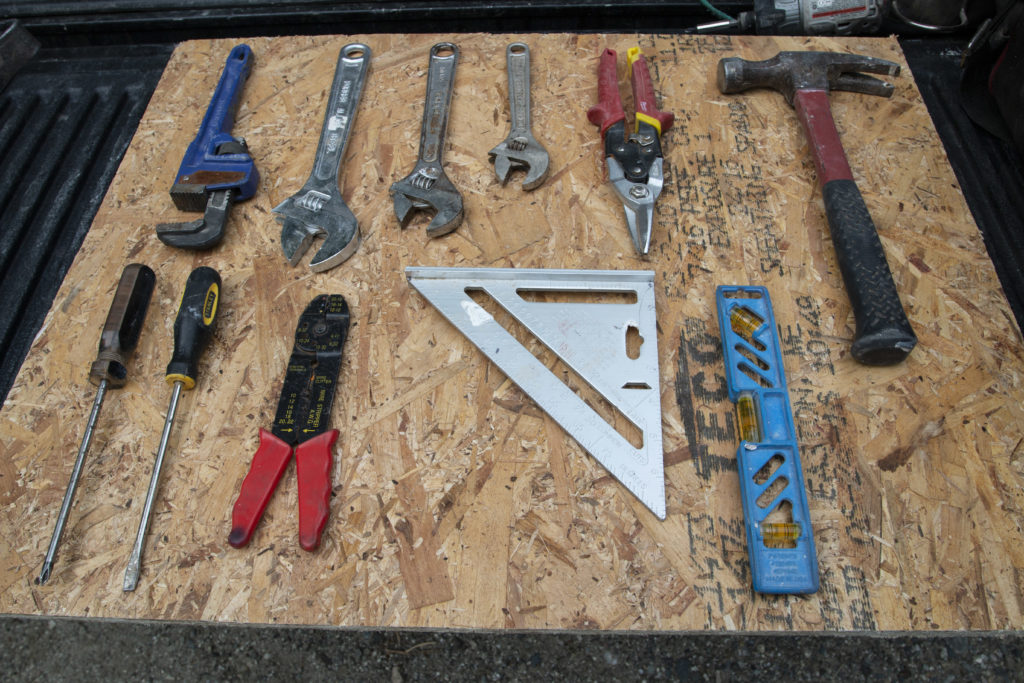
Photo by Aislinn Sarnacki ![]()
Photo by Aislinn Sarnacki 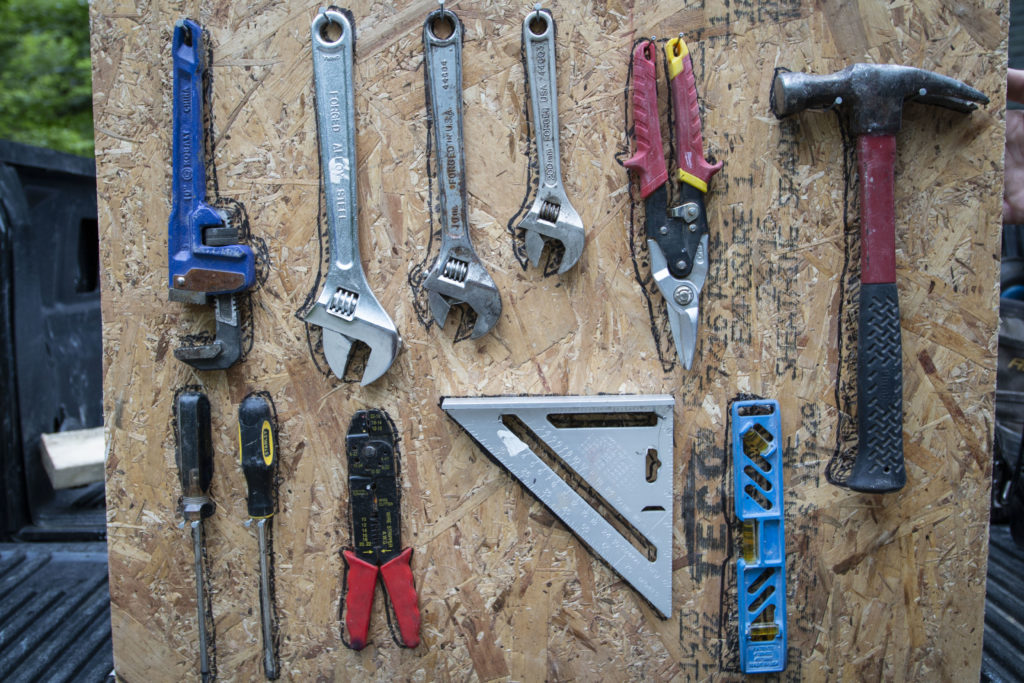
Photo by Aislinn Sarnacki ![]()
Photo by Aislinn Sarnacki
- Lay your plywood (or another type of wide wooden board, if you wish) on a flat surface.
- Arrange the tools you wish to organize on the board in whatever pattern you wish. During this process, it’s crucial that you consider how each tool will hang on nails. For example, the easiest way to hang a wrench is by placing a nail through the hole at its head. And an easy way to hang a screwdriver is by placing nails on either side of its shank, just under the lip of the handle. Tip: Consider clumping together similar tools and arranging them by size.
- Once you’re happy with how your tools are organized, carefully outline each tool with a marker.
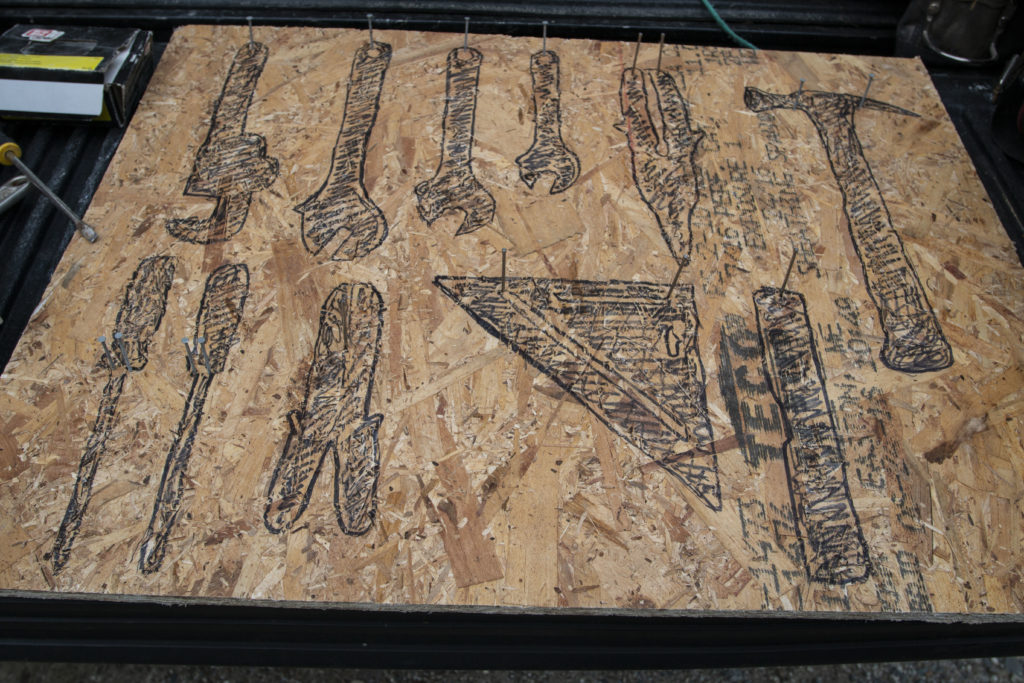
- You can either remove the tools or leave them in place as you hammer nails into strategic locations on the board. Again, you’ll need to consider where each nail needs to be placed for each tool to hang properly. A hammer, for example, can be balanced on two nails: one placed under the neck, and the other placed under the claw. Hammer in each nail until it’s sturdy but leave plenty of space for it to serve as a peg that holds up the tool.
- Once all the nails have been hammered in place, remove the tools and color in your tool silhouettes to make them easier to see.
- Hang your plywood tool organizer on your workshop wall.