
As the number of positive coronavirus cases continues to climb, citizens around the country have started stockpiling foodstuffs in preparation for the recommended social distancing, self-quarantine and self-isolation. A few nonperishables, in particular, have been popular in grocery stores — among them, canned beans.
Luckily, dried beans are generally available in bulk supply, in both conventional grocery stores and health food stores. If you purchased a bag of dried beans to stand-in for your usual canned counterparts, you may not know what to do with them.
Consider this an opportunity to open yourself up to the wonderful world of dried beans. Dried beans are cheaper, healthier and more sustainable than their canned counterparts. Plus, dried beans usually come in much more fun and tasty heirloom varieties than the canned offerings.
To make tasty, tender beans while avoiding any uncomfortable gas, here’s what you need to know about preparing dried beans from scratch.
1. Store them
First, make sure you properly store your dried beans leading up to the moment you use them. Dried beans left in their original grocery store packaging — generally, a thin plastic or paper bag — will dry out faster. Instead, store them in food-safe storage containers with a tight-fitting lid. Dried beans should also be stored out of direct sunlight in a dry spot kept at a cool temperature between 50 and 70 degrees Fahrenheit. A cool pantry will work best.
2. Soak them …
Many dried beans need to be soaked before they are used to dissolve the starches that cause intestinal discomfort. The exceptions to the bean soaking rule include smaller and softer legumes, such as lentils, split peas, black-eyed peas and adzuki beans.
For all beans, pick through the beans and discard any discolored or shriveled beans, as well as any foreign matter such as stray pebbles or twigs. Rinse the beans well.
To soak, put the dried beans in a pot and cover them in a few inches of water. Let sit overnight in the refrigerator.
If you don’t have all night, you can also quick soak beans and get a similar effect. Put those beans in a pot, cover them with water and bring them up to a boil. Let the beans boil for a few minutes, then cover the pot and turn off the heat. Let the beans sit for at least half an hour in the hot water.
… or, maybe, don’t soak them
There are kitchen gadgets that can help you get around the soaking if you really want to. You could make your beans in a slow cooker in just a few hours without soaking overnight, or you could prepare dried beans in a pressure cooker (but don’t skip the olive oil — this helps reduce foam during cooking, which could clog the pressure valve).
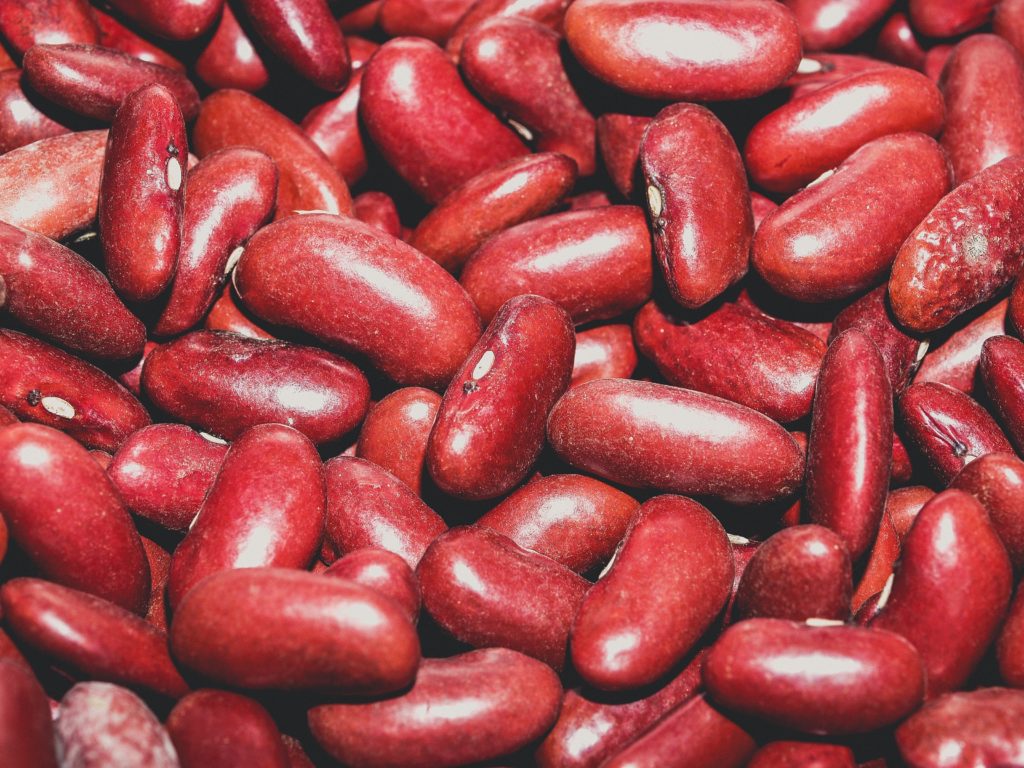
The exception to these workarounds, though, is red kidney beans, which should always be soaked. They require a different cooking method to break down toxins in the bean. To make them more digestible, always soak first and then boil for 20 minutes before preparing in the slow cooker or pressure cooker.
3. Cook them
If you have chosen to use the regular soaking method, now it’s time to make those beans nice and creamy. First, drain and rinse your soaked beans, whatever method you wound up using.
Transfer them to another pot, then cover them in a few inches of water (the exact amount isn’t important). Bring them to a simmer, avoiding a boil (which will make them fall apart), with a dash of salt.
You may have heard that dried beans shouldn’t be salted until the end of cooking to avoid toughening the beans, but this is an oversimplification of the truth. In fact, some chefs swear that salting beans at the beginning of cooking and ending up with flavorful, tender beans. As a general rule, keep early salting light — most of the salt will be added at the end, after the beans have cooked through.
To give your beans a little more flavor, add aromatics such as onions, shallots, garlic, chiles or fresh herbs. The Bean Institute recommends a whole, quartered onion, a few cloves of garlic, and a sprig or two of fresh herbs like rosemary, thyme or a bay leaf, but you can experiment with your own mix of flavors. Lightly salt again after about an hour of simmering.
After another 30 minutes to an hour, your beans will be tender and edible (a quick taste test will help to make sure, but be careful not to burn your tongue). Turn off the heat and fish out any aromatics you used (keeping them in a cheesecloth bag is one easy way to do this). Then, season the cooking liquid to taste with salt and add any acidic ingredients such as tomatoes, vinegar or lemon juice.
When tasting for seasoning, sample the broth rather than the beans themselves. The beans should be left to sit in the cooking liquid for half an hour before eating them.
4. Use them …
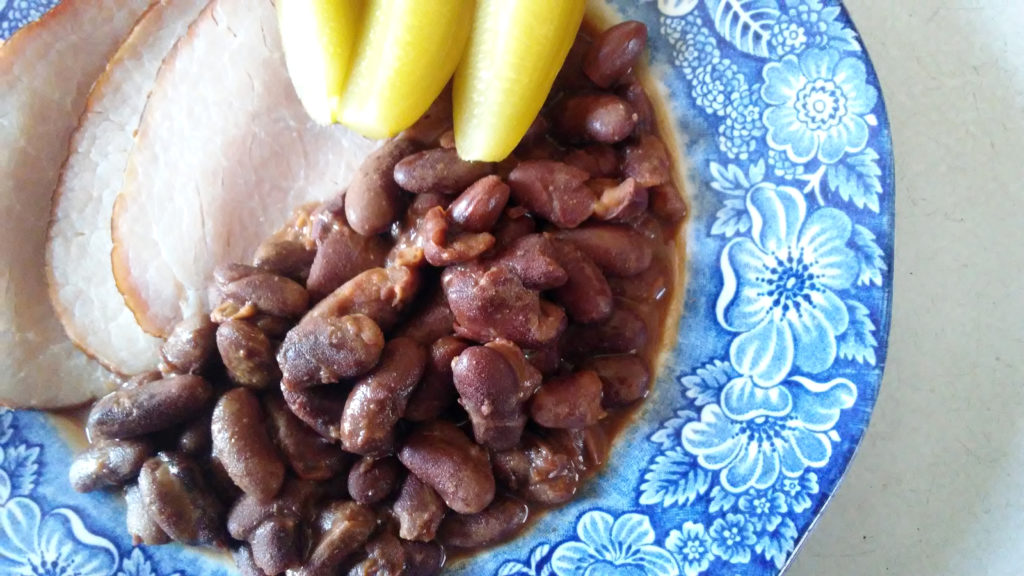
Beans can be strained and used right away in place of their canned counterparts for all your favorite recipes. If you’re looking for new recipes, try these Maine baked beans if you have large beans like Yellow Eye or this sweet potato and black bean chili. This black bean soup is also delicious, and this vegetarian chili with kidney beans is so hearty, it will make you forget that there is no meat in it at all.
Save that cooking liquid, too. It is seasoned, delicious and starchy, which is perfect for adding body to soups, stews, braises and pasta sauces
… or save them
Beans can be stored for up to a week in the refrigerator or three months in the freezer. If you’re planning on storing them for later use, let the beans cool completely in their cooking liquid. Beans can be stored in their cooking liquid, which prevents them from drying out. Toss them in a tightly sealed container in the refrigerator or freezer.
I store my beans in the freezer and they are preserved for more than 3 months. I personally recommend the freezer for storage of beans, you won’t have to worry about weevils infestation or mold.