
Although garlic is usually planted in the fall, planting garlic in the spring will yield a harvest. But it’s a different growing and harvesting experience than if you plant garlic in the fall.
Fall garlic is usually planted before the last frost date and harvested in the following late summer. Over the winter, the garlic goes through a process called vernalization, whereby the cold temperatures stress the seed and divide it into separate cloves. The increased day lengths brought by spring triggers the garlic to bulb. The more time garlic has to grow before forming bulbs, the larger the heads will be.
Planting garlic in the spring leaves less time for garlic to grow, so spring garlic will be smaller than its overwintered counterparts and will not have the classic cloves.
“Garlic is a long season crop,” David Fuller, agriculture and non-timber forest product professional at the University of Maine Cooperative Extension. “If you plant it in the spring, that clove is only going to form a large single bulb with no cloves in it called a round. The bulb will be smaller than if you planted it in the fall.”
Garlic in the spring or spring garlic?
You can plant garlic in April with your other early spring crops and harvest it at the end of July or August when the bottom leaves begin to dry (Fuller said to look out for three dry leaves at the bottom of a healthy plant, which will correspond to the developed wrapper around the bulb), but Fuller said, “It’s an inferior way to plant garlic.”
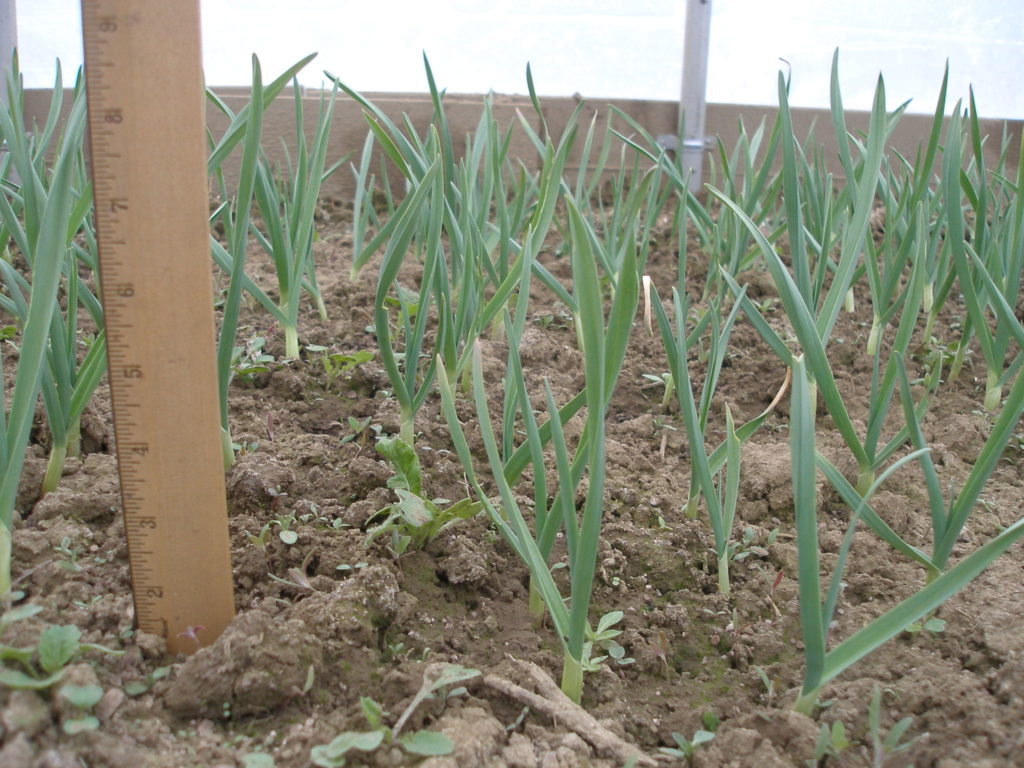
Another option for garlic planted in the spring is to harvest it as spring garlic, otherwise known as green garlic. Instead of waiting until the end of the summer, harvest the April-planted garlic after about eight weeks at the end of May, a few weeks before you plan to harvest garlic bulbs if you have overwintered them. The long, tender shoots and tiny white speckled bulb look almost like scallions.
“I think of them as space fillers,” said Elina Snyder, horticulture extension agent at the NC Cooperative Extension. “If you find yourself with some bed space that you can’t fill in the spring and you have some garlic leftover from last year’s harvest, you can plant some of that and have kind of an additional crop of green garlic earlier in the season.”
How to plant spring garlic
Garlic is grown by sowing cloves directly into the ground. Whereas you normally would want to plant the best and hardiest cloves in the fall to grow garlic bulbs, you can plant smaller cloves if you are planning to harvest the plant at the end of the spring for green garlic. They can also be planted closer together than fall-planted garlic, between two and four inches apart as opposed to at least five inches apart.
“Take little cloves and plant them really closely,” Fuller said. “The plant doesn’t have as long in the ground, so it can’t get as big as fall planted garlic.”
Your gardening area for spring garlic should receive six to eight hours of sunlight per day, and the soil should be thawed and drained.
“The other thing I would say is avoid planting in areas where you had members of the allium family grown in recent years,” Snyder said (other alliums include onions, scallions, leeks and chives). “There are some diseases that the allium crops are susceptible to, and planting them in a spot where an allium crop was recently is setting you up to have issues with diseases.”
Place the cloves in the prepared holes, about two inches deep, with the flat, root side facing down and the pointed end facing up. In about eight weeks, when the green tops are long and tender, your spring garlic will be ready to harvest.
“The thing about planting these little cloves, after a while the stalks are going to start developing and they’re going to be quite tough,” Fuller said. “The harvest window is very narrow for that.”
How to use spring garlic
Spring garlic is fresh, mild and sweet with an almost nutty flavor. It is popular in Asian cuisine, but spring garlic can be used as milder substitute for garlic in a recipe — one stalk is about equal to one clove — or in place of leeks, scallions or chives. You can also enjoy raw spring garlic raw on top of salads.
“You may not get as pungent of a garlic flavor,” Snyder said. “It’ll be kind of a fresher flavor. The green parts are edible as well and pleasing.”
Fuller recommends sauteeing it along with scrambled eggs. Because of the timing, Snyder uses hers for pickling, or adds them to mashed potatoes for a hint of garlic flavor. Spring garlic is a tasty, easy addition to your garden as well as a fun experiment for your cooking routine.
Meanwhile, if you plant garlic in the spring for harvesting in late summer, you can use it as you’d use any other garlic.
Can I plant garlic in May and harvest the next year? Zone 8.