I tried to make homemade nut butter. Here’s how it went.
When I was a child, I used to sneak into the pantry to enjoy an illicit snack: peanut butter, straight from the jar, usually scooped with a spoon but just as often dug out with my sticky kid fingers. I wish I could say that I left behind the snacking habit behind in the halcyon days of my youth, but I haven’t.
As I have matured, though, so have the nut butter offerings. Almond, cashew, hazelnut and pistachio nut butters — just to name a few — have emerged on the scene, and in the grocery aisles. As my snacking has elevated, though, so has its price point. A petite jar of these hot new nut spreads is often double or triple the cost of a jar of peanut butter. At the rate that I slurp them down, making homemade nut butter would help me save money on groceries so I can further fund my snack habit.
Even if you don’t eat jars of peanut butter like they’re pudding snack cups, there are a number of other benefits to creating homemade nut butter. If you buy nuts in bulk, for example, you can reduce your kitchen’s contribution to the waste stream.
Homemade nut butters are also generally better for your health. Conventional store-bought nut butters often contain added sugars and salt to boost the flavor. Preservatives are also added to extend the spread’s shelf life. Hydrogenated oils, which are present in over 80 percent of peanut butter brands, add extra hydrogen atoms to solidify and stabilize oil molecules, but they also add artery-clogging saturated and trans fats that have been linked to an increased risk of heart disease, obesity and diabetes.
Between the benefits to my health, budget and kitchen sustainability goals, making homemade nut butter seemed as natural an addition to my regular routine as snacking on said spreads.
Learning to try
First, I recruited a homemade nut butter expert: Natalie Williams, a Bangor Daily News digital editor, nutritional yeast enthusiast and our office’s most vocal vegan. Natalie is extremely committed to a low-to-no-waste lifestyle, and makes many of her kitchen staples from scratch. I’ve noticed her eating homemade peanut butter at her desk at work, and figured I’d have a compatriot in both sustainability and snacking.
I wanted to try a variety of nut butters, so in addition to Natalie’s famous homemade peanut butter, I also picked out this recipe for raw almond butter from Eating Vibrantly (“raw vegans,” Natalie told me, not only exclude animal products from their diet, but cooked and processed foods as well) and this tutorial from Beaming Baker for homemade cashew butter.
I also didn’t want to exclude people with nut allergies. My sister and father are deathly allergic to nuts, so I’m that person labeling every dish at the office potluck as “nut-free” or “contains nuts.” Recently, they have discovered a few nut-free spreads that have a similar consistency and flavor to nut butters. Their favorite — and perhaps the most prevalent in the nut-free community — is sunflower seed butter.
Sunflower seed butter has been offered in schools as an alternative to peanut butters in nut-free school districts as part of the Food Allergy and Anaphylaxis Management Act, which calls for voluntary national guidelines to help schools better serve students affected by allergies and anaphylaxis. As an added bonus, sunflower seeds are a good source of protein (though less than the nutty alternatives), fiber, vitamin E, zinc, iron and alpha-tocopherols, which have been linked to a reduced risk of certain types of cancers.
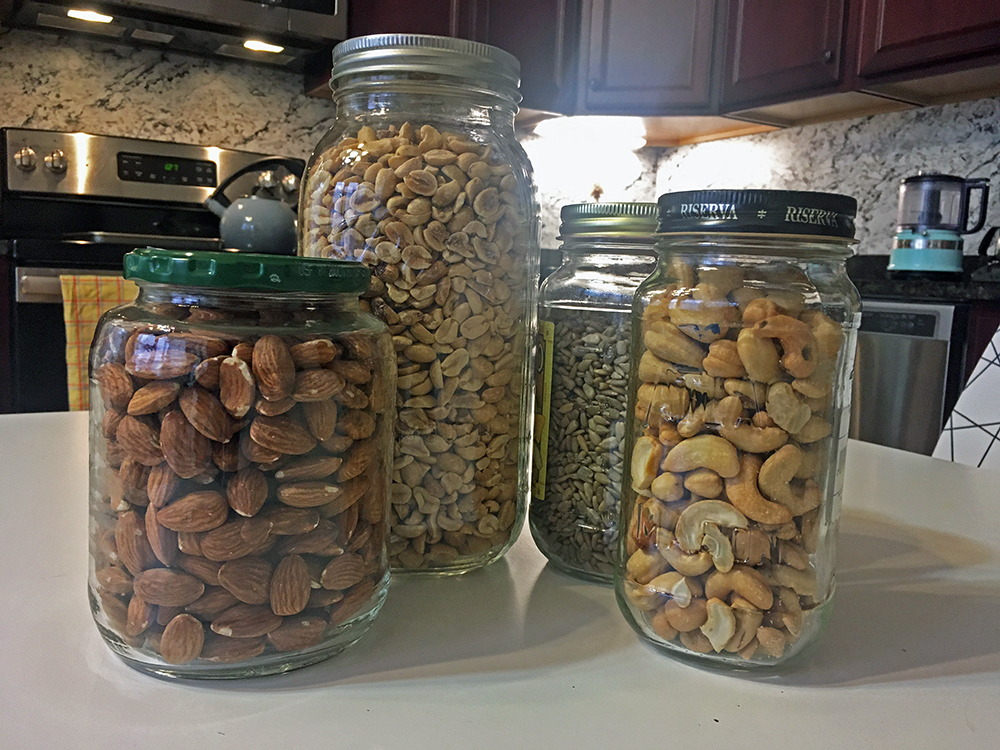
Natalie was game, so I chose a recipe for sunflower seed butter from The Healthy Foodie. We went to the Natural Living Center in Bangor to buy our ingredients in bulk. We purchased roasted (but unsalted, Natalie cautioned) peanuts and cashews, and raw almonds and sunflower seeds. I noticed Natalie’s bulk jars — and the quantities of nuts she was buying — were much larger than mine.
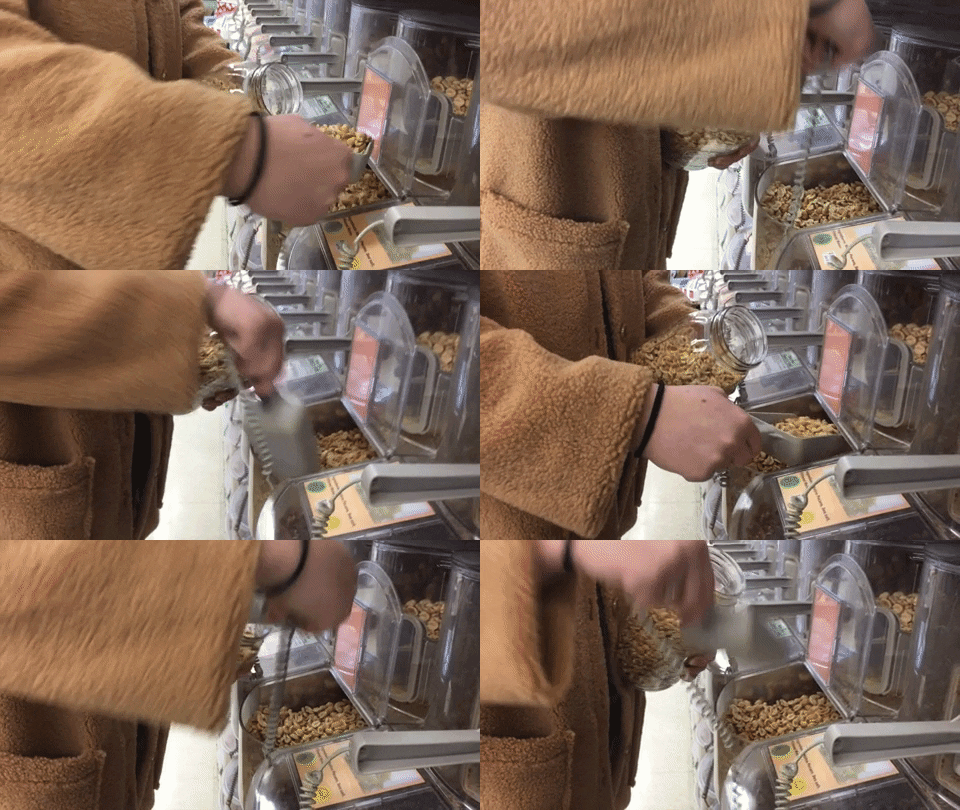
“When in doubt, buy more,” she explained, filling an enormous mason jar with peanuts. “That was my learning curve when I first started making homemade nut butters.”
I asked her if we should soak the nuts overnight, like with making nut milks like almond milk, but she insisted that there is no soaking required. In fact, the recipes often require little more than the nuts and a pinch of salt and sweetener. The naturally fatty and oily nuts alone will, apparently, do the work themselves.
I grabbed my food processor from home — the only tool, Natalie insisted, needed to make spectacular homemade nut butters, besides a quality spatula — and headed to her apartment to get to work.
A trying experience
Natalie and I started by making homemade peanut butter using her tried-and-true method. Natalie dumped a copious amount of peanuts — nearly eight cups — into her food processor and pressed the start button.
“That’s it,” she laughed. Well, that, and using a spatula to scrape down any nut material that has shimmied away from the blades.
At first, I was skeptical. When Natalie popped the top of her food processor the first few times, our peanut butter looked more like protein powder. After a few minutes of pulsing and scraping, though, the powder formed a nutty masa. A few minutes later, with the husks sufficiently pulverized and the oils all released, the nuts — as if by magic — became a creamy, aromatic peanut butter.
The peanut butter was warm (the friction of the food processor leaves a little heat) and the flavor was spectacular — better, even, than my favorite store-bought peanut butters, whose empty jars line my pantry shelves like tombstones.
Then, we tried sunflower seed butter, using my uncontaminated food processor. Because we bought them raw, we had to roast them. They emerged from the oven smelling surprisingly nutty and delicious.
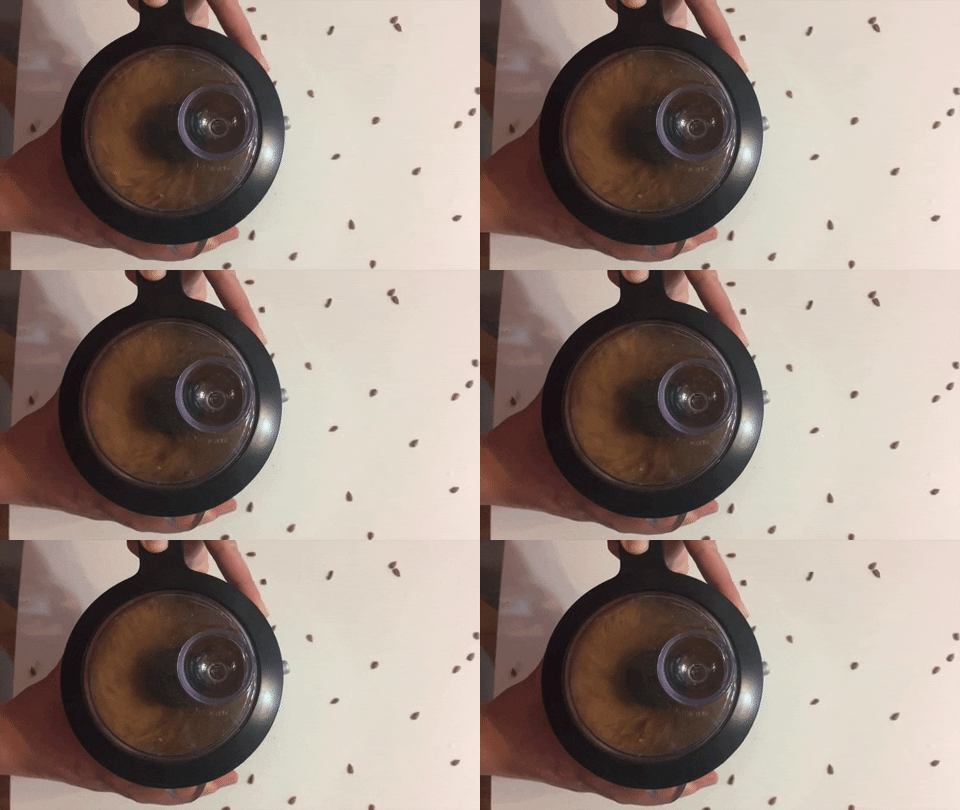
Processing the sunflower seeds took longer than the peanuts, and the pulverized seeds had more of a tendency to creep to the sides out of the path of the food processor’s blades. Eventually though, like its nutty brethren, it, too, formed a buttery spread.
The first bite of our homemade sunflower seed butter was very bitter and smokey. Upon reflection, we probably left our seeds in the oven for a little too long. To offset the burn, we added a dash of maple syrup and pulsed it again. The result was a scrumptious smokey-sweet flavor.
We cleaned our food processors to prepare for the final two nut butters.
“Honestly, cleaning is the hardest part,” Natalie said, lathering her bamboo scrubber with a dishwashing soap block. She wedged broken bits of the block into the bristles to clean particularly sticky hard-to-reach spots.
We decided to prepare the raw almond and cashew butters simultaneously, in part to see if the student could keep up with the master, but also because Natalie wanted to race.
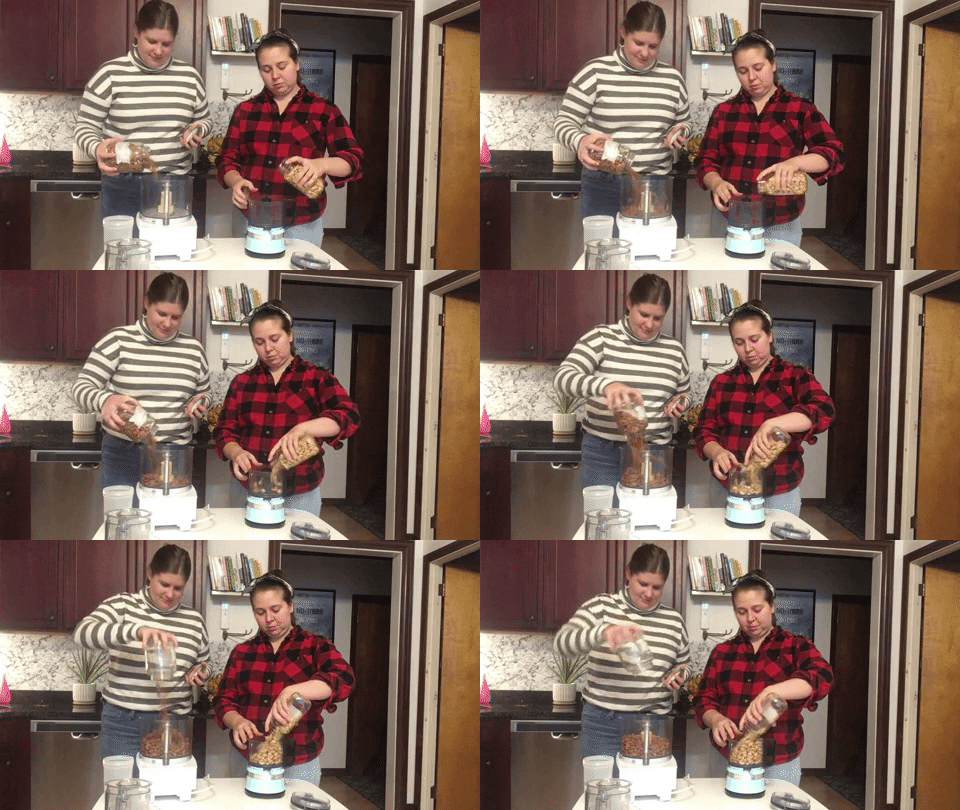
We chose our fighters: raw almond for Natalie, cashew for me (a decision she would ultimately regret). Roasting releases the oils in nuts, so the raw almond butter took much longer to form than the others. The cashew butter almost immediately coalesced into creamy goodness. We each took a spoonful. It tasted decadent, like we melted an invite-only cocktail party into a spoon.
After nearly 20 minutes of pulsing and scraping, we finally had a coarsely-ground raw almond butter. Natalie loved the consistency, but I like my nut spreads much creamier.
![]()
Jars of nuts… | Photo by Sam Schipani 
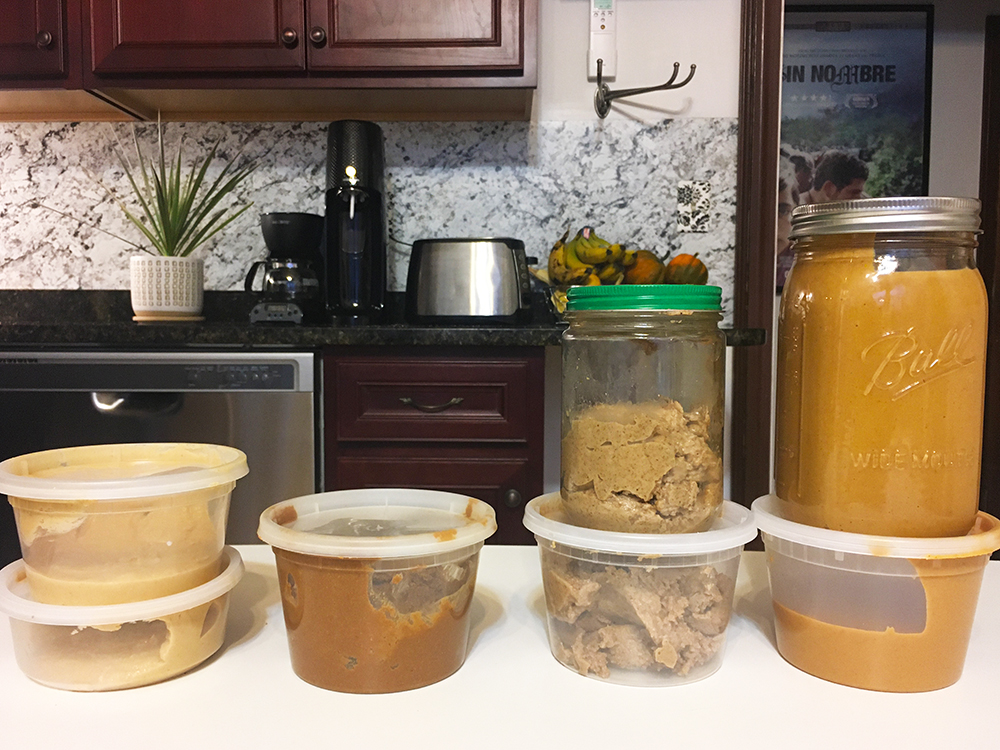
…to jars of nut butter! | Photo by Sam Schipani
In general, though, all of our homemade nut butters came together easily and deliciously — but, of course, we did another taste test, just to make sure.
My tried and true takeaways
Of the four homemade nut butters that Natalie and I prepared, our runaway favorite was the cashew butter. For me, peanut butter came in a close second (and will seriously be implemented into my daily life), and Natalie loved the consistency of the raw almond butter. Sunflower seed butter deserves another shot with a more careful eye in the oven, as the seeds a prone to burning. Also, a note: unlike many (but not all) store-bought nut butters, homemade nut butter should be stored in an airtight container in the refrigerator.
In general, though, making homemade nut butter is shockingly easy. The overall cost-effectiveness is questionable though. However, making homemade nut butter instead of purchasing store-bought nut butter is beneficial for your health and your kitchen’s waste stream, especially if you eat exceptional quantities of the spread, like if you’re vegan (or just snacky). It is also fun if you have a friend to do it with.

