
Interested in growing lavender seeds? These tips will help you get started.
Guest post by Krystal Slaughter of Three Wondrous Acres Homestead.

When I started a pot of lavender seeds for the first time, I didn’t realize what kind of time-consuming, challenging, and seemingly impossible journey I was embarking on.
….And no, those seeds never sprouted.
Instead, I found myself questioning everything, from the seeds to the soil.
Were the seeds old?
Was the soil contaminated?
Did the seeds dry out?
Did I plant them too deeply?
I even contacted the company in fear that the seed was of poor quality. They kindly sent more than double what I purchased as replacements, which I continued my experimenting with. For over a year, my lavender seeds withstood plenty of trial and error, as I navigated the world of lavender growing with very little guidance.
There simply wasn’t a whole lot of help to be found online, either — and by help, I mean an experienced individual sharing his or her own story.
Today, I’m sharing a short overview of my tips and tricks which are further explained and broken down in my journey post on my blog.
Without further ado, let’s get our hands dirty and get those lavender gardens started!
Start Seeds in Bags, Not Pots
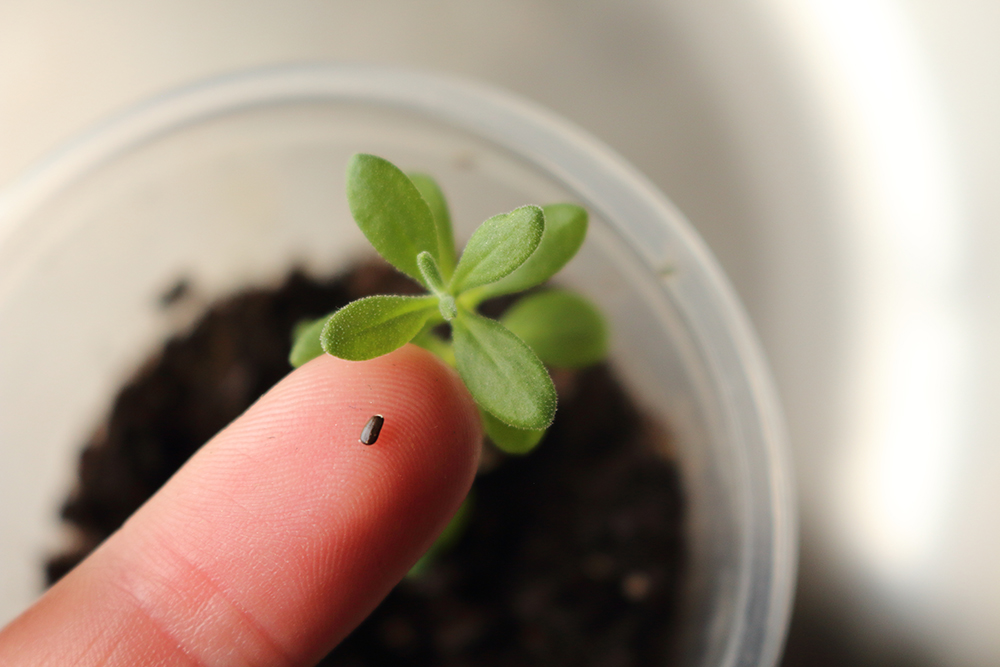
Rather than placing your seeds in pots of soil, go with the baggy method. Don’t even use a paper towel, either. Paper towels simply encourage fungal growth and it can be hard to find or remove the tender roots when it’s time to plant. Instead, place the seeds in a bag (after a stratification period, I cover this in the link above) with a tablespoon of water, and squeeze all of the air out.
You’ll be able to monitor germination and provide them with plenty of light while avoiding planting them too deeply. This saves a lot of space, too. Lavender seedlings are incredibly easy to transplant and have (so far) been some of the most resilient seedlings that I’ve dealt with- I only recommend waiting until the first two leaves are open for 24 hours before removing them from the bag. They seem to be much more tender during germination, so allow this process to be completed before moving them.
Offer Your Seeds Adequate Light
Your lavender seeds will require light while sprouting, preferably via sunlight or grow light. I had a low germination rate along the journey until I tossed the bag of seeds under one of my seedling lights. I placed them in a window, as well, but the lighting over the seedlings was more intense than the north-facing window. Once I moved them, I saw an explosion in germination. This could have been a coincidence (I may have moved them from the window just as the bulk of the viable seeds began to germinate), but I do believe the seedling light helped.
Give Seeds Heat
I truly believe these seeds require cooling and heating to germinate properly. If you have a window that is sunny and warm during the day but nice and cool/cold at night, that will work. I placed my bag of seeds under a radiator heater at night (it was the dead of winter), and left them in the window or under the grow light during the day. The heat tells the seeds that spring is coming, and that it’s time to wake up! Of course, you want to simulate winter before spring, so be sure that they’ve been stratified for a few weeks. I stratify any and all seeds that are stubborn or slow to germinate.
Please … Have Patience!
Don’t just toss your bag of seeds 3 or 4 weeks in because they’re not growing. I know many people give up on lavender because they think the seeds are bad.
I did it the first time, too.
Lavender will teach you everything that you need to know about patience, that is a guarantee. It could be two weeks, or it could be twelve. You will have seeds sprouting several weeks apart! Strawberry or blueberry seeds may come to mind with this lengthy germination period, but lavender truly takes the cake here. Give your bag of seeds a minimum of 3 months before you throw in the towel, and be sure that they have had at least 7 heated days (bring the bag to 75 to 85 degrees for a few hours each of these 7 days). These seeds are like stubborn sleeping teenagers: it takes a lot to get them out of bed.
Seedling Care
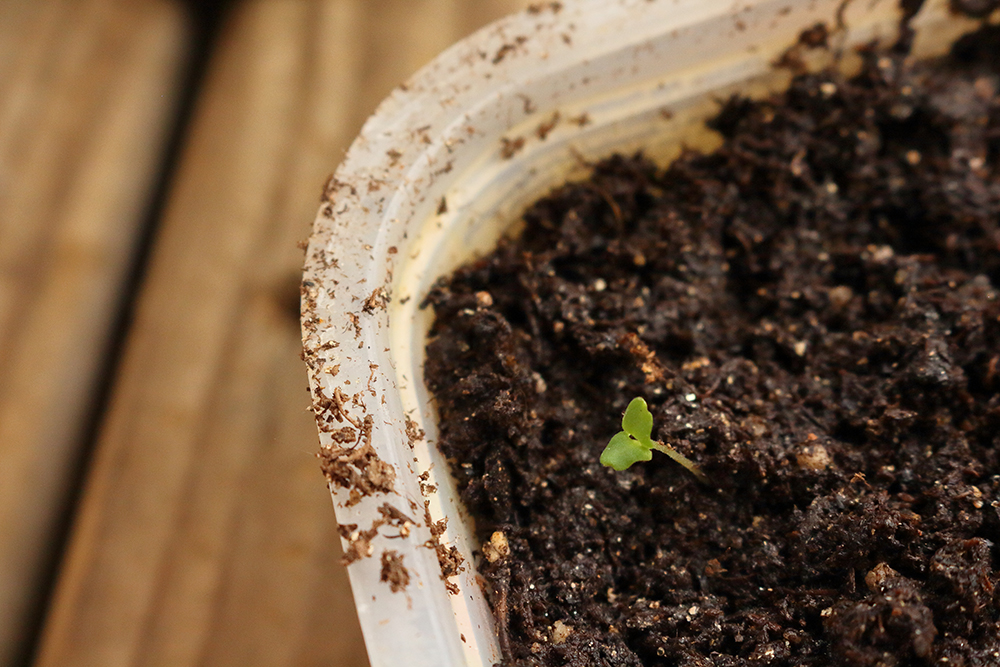
Once the seedlings have been pulled from the bag, simply poke a pencil into a pot of moistened dirt, place the seedling in the hole, and pinch/back fill the soil halfway up the stem of the plant. There is no need to water if the soil is well watered before transplanting. Keep water off of the plant when watering — instead, tilt the pot when watering until the soil soaks up the water.
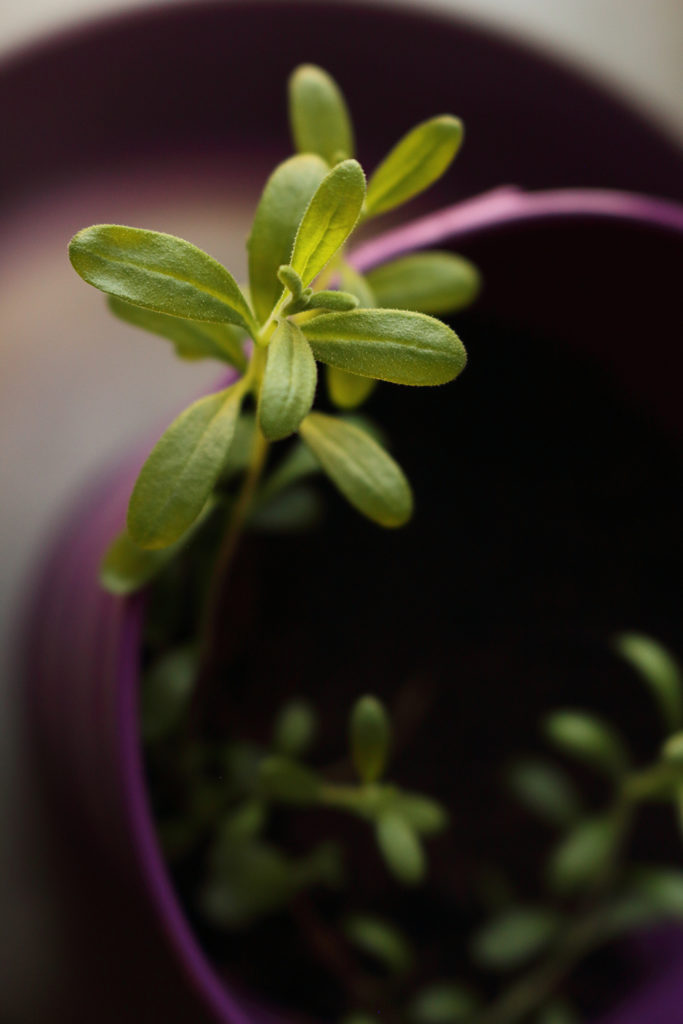
I’ve not had a single problem with my lavender seedlings, other than one or two that quit very early on. Everyone else has absolutely thrived, and I have learned that these are some of the easiest seedlings I’ve ever had to care for. The adult plants may be a different story in my climate and soil, but I will cross that bridge when I get there.
Lastly, You Have Not Failed!
If you are one of the many gardeners or homesteaders who feel as if they have failed at growing lavender, you should take a swing at it one last time. In my journey, I “failed” many times before I wound up with tiny lavender plants taking over my home. Truthfully, failure is simply the foundation of learning, and you must grow from there, literally.
Each of these steps is crucial in achieving a satisfactory germination rate, even though there is much more that I could elaborate on here. You should also be aware that poor germination rates among lavender are very normal; if you only have 20 percent of your seeds germinate successfully, you have made it! Don’t expect a germination rate higher than 50 percent to 60 percent, as you’ll be highly disappointed. Most seed companies include a lot of lavender seeds in their packets, more than enough for the typical home gardener; even with a germination rate of 20 percent.
About the Author: Tucked away in the hills of Tennessee, Krystal Slaughter has big plans for her family on their modest homestead. She’s always seeking out an odd, new homesteading challenge in an effort to refine her skills while showing her followers how to avoid the discouraging mistakes she encounters. From squash vine borers to lavender germination, she’s determined to find a way and make it “easy,” encouraging other homesteaders to follow their dreams and to never give up.
It’s homesteading skills month on Hello Homestead! Every weekday this month, we’ll be highlighting a skill for living a self-sufficient life. Make sure you LIKE our page on Facebook, FOLLOW on Twitter, FOLLOW us on Instagram and/or sign up for our newsletter so you don’t miss a single one!
Great post, thank you! Could you include a pic of the bag method? I’m not sure what you mean.