How to plant garlic in the fall
Garlic needs a period of cold in order for a clove to separate and form a head of garlic. Here’s how to plant garlic in the fall.

Last year, it felt as if we did some crucial things wrong when it came to planting our garlic — and that’s why we wanted to try harder to do it right this year.
Our major mistake was in timing. Garlic really ought to be planted in the fall, after the first light frost or two but before the ground freezes. But life got busy and we missed that (large) window last year and decided to plant our garlic in the spring. Garlic, though, needs a period of cold, called vernalization, in order for a clove to separate and form a head of garlic. Our spring-planted garlic skipped that step and so many of the garlic heads we harvested were comprised of just one large, round clove instead of the usual smaller, separated cloves.
Jon Thurston, a Searsmont, Maine garlic grower who plants 4,000 cloves each year, was kind when I confessed what we had done.
“Spring planting is OK, but the key is to get it into the ground as soon as you possibly can in the spring. Fall planting is preferable because you get larger heads,” he said. “In the fall, the idea is not to plant it too early. If we have a warm October, it will start to sprout and it could lose some size in the spring.”
A bigger mistake, he said, was one that we hadn’t made: getting our seed garlic from an unknown and untrustworthy source. That’s because a disease called white rot is making its way across the country. This important, destructive fungal disease can infect all plants in the allium family, garlic and onions are most susceptible. White rot likes cool and moist soil conditions and eventually kills affected plants. Worse, once it’s in your garden or fields, nothing can be done about it other than to stop planting alliums there. White rot can render a field unusable for garlic or onion production for as long as 40 years, and experts such as Thurston don’t take it lightly.
“I’m extremely careful,” he said. “Garlic used to be very, very forgiving, but then these diseases started showing up. I’ll never buy garlic from afar again.”
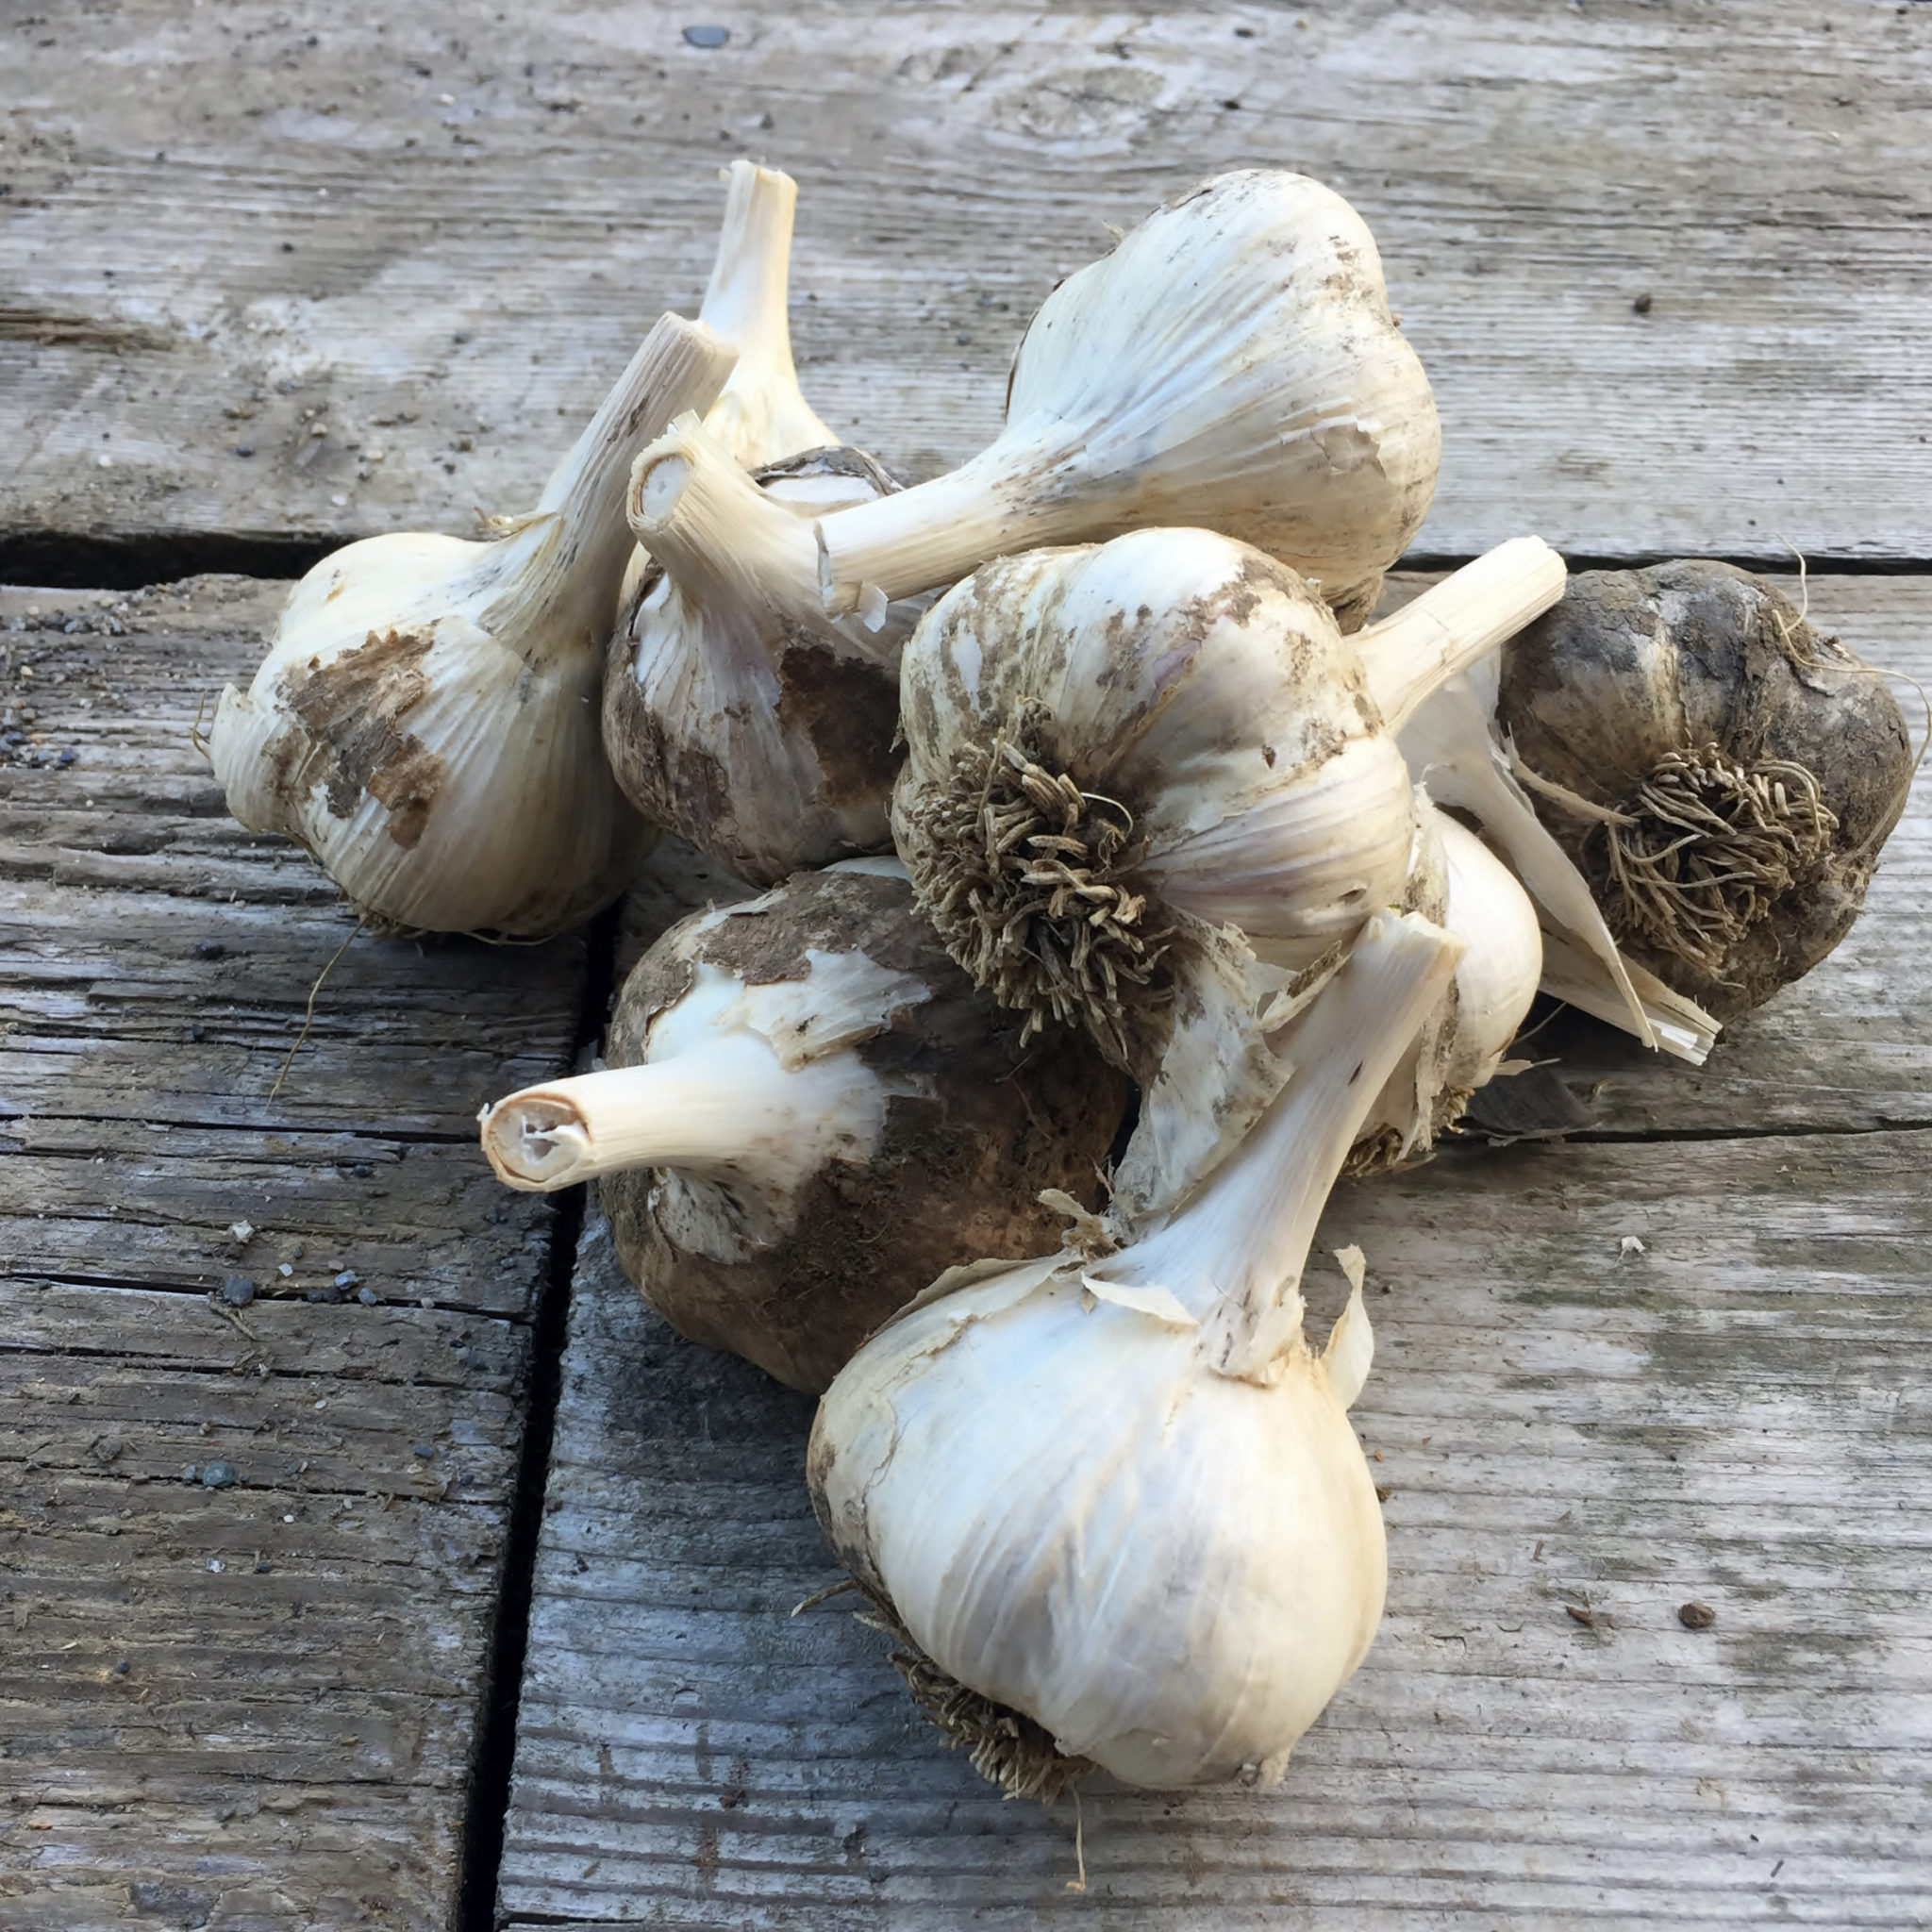
He encourages folks looking for seed garlic to get it locally, from a trusted farmer. You can’t just go out and plant what you find at the grocery store, anyway, he said — some of that garlic is sterile and won’t sprout.
Step one: Find a spot to plant garlic

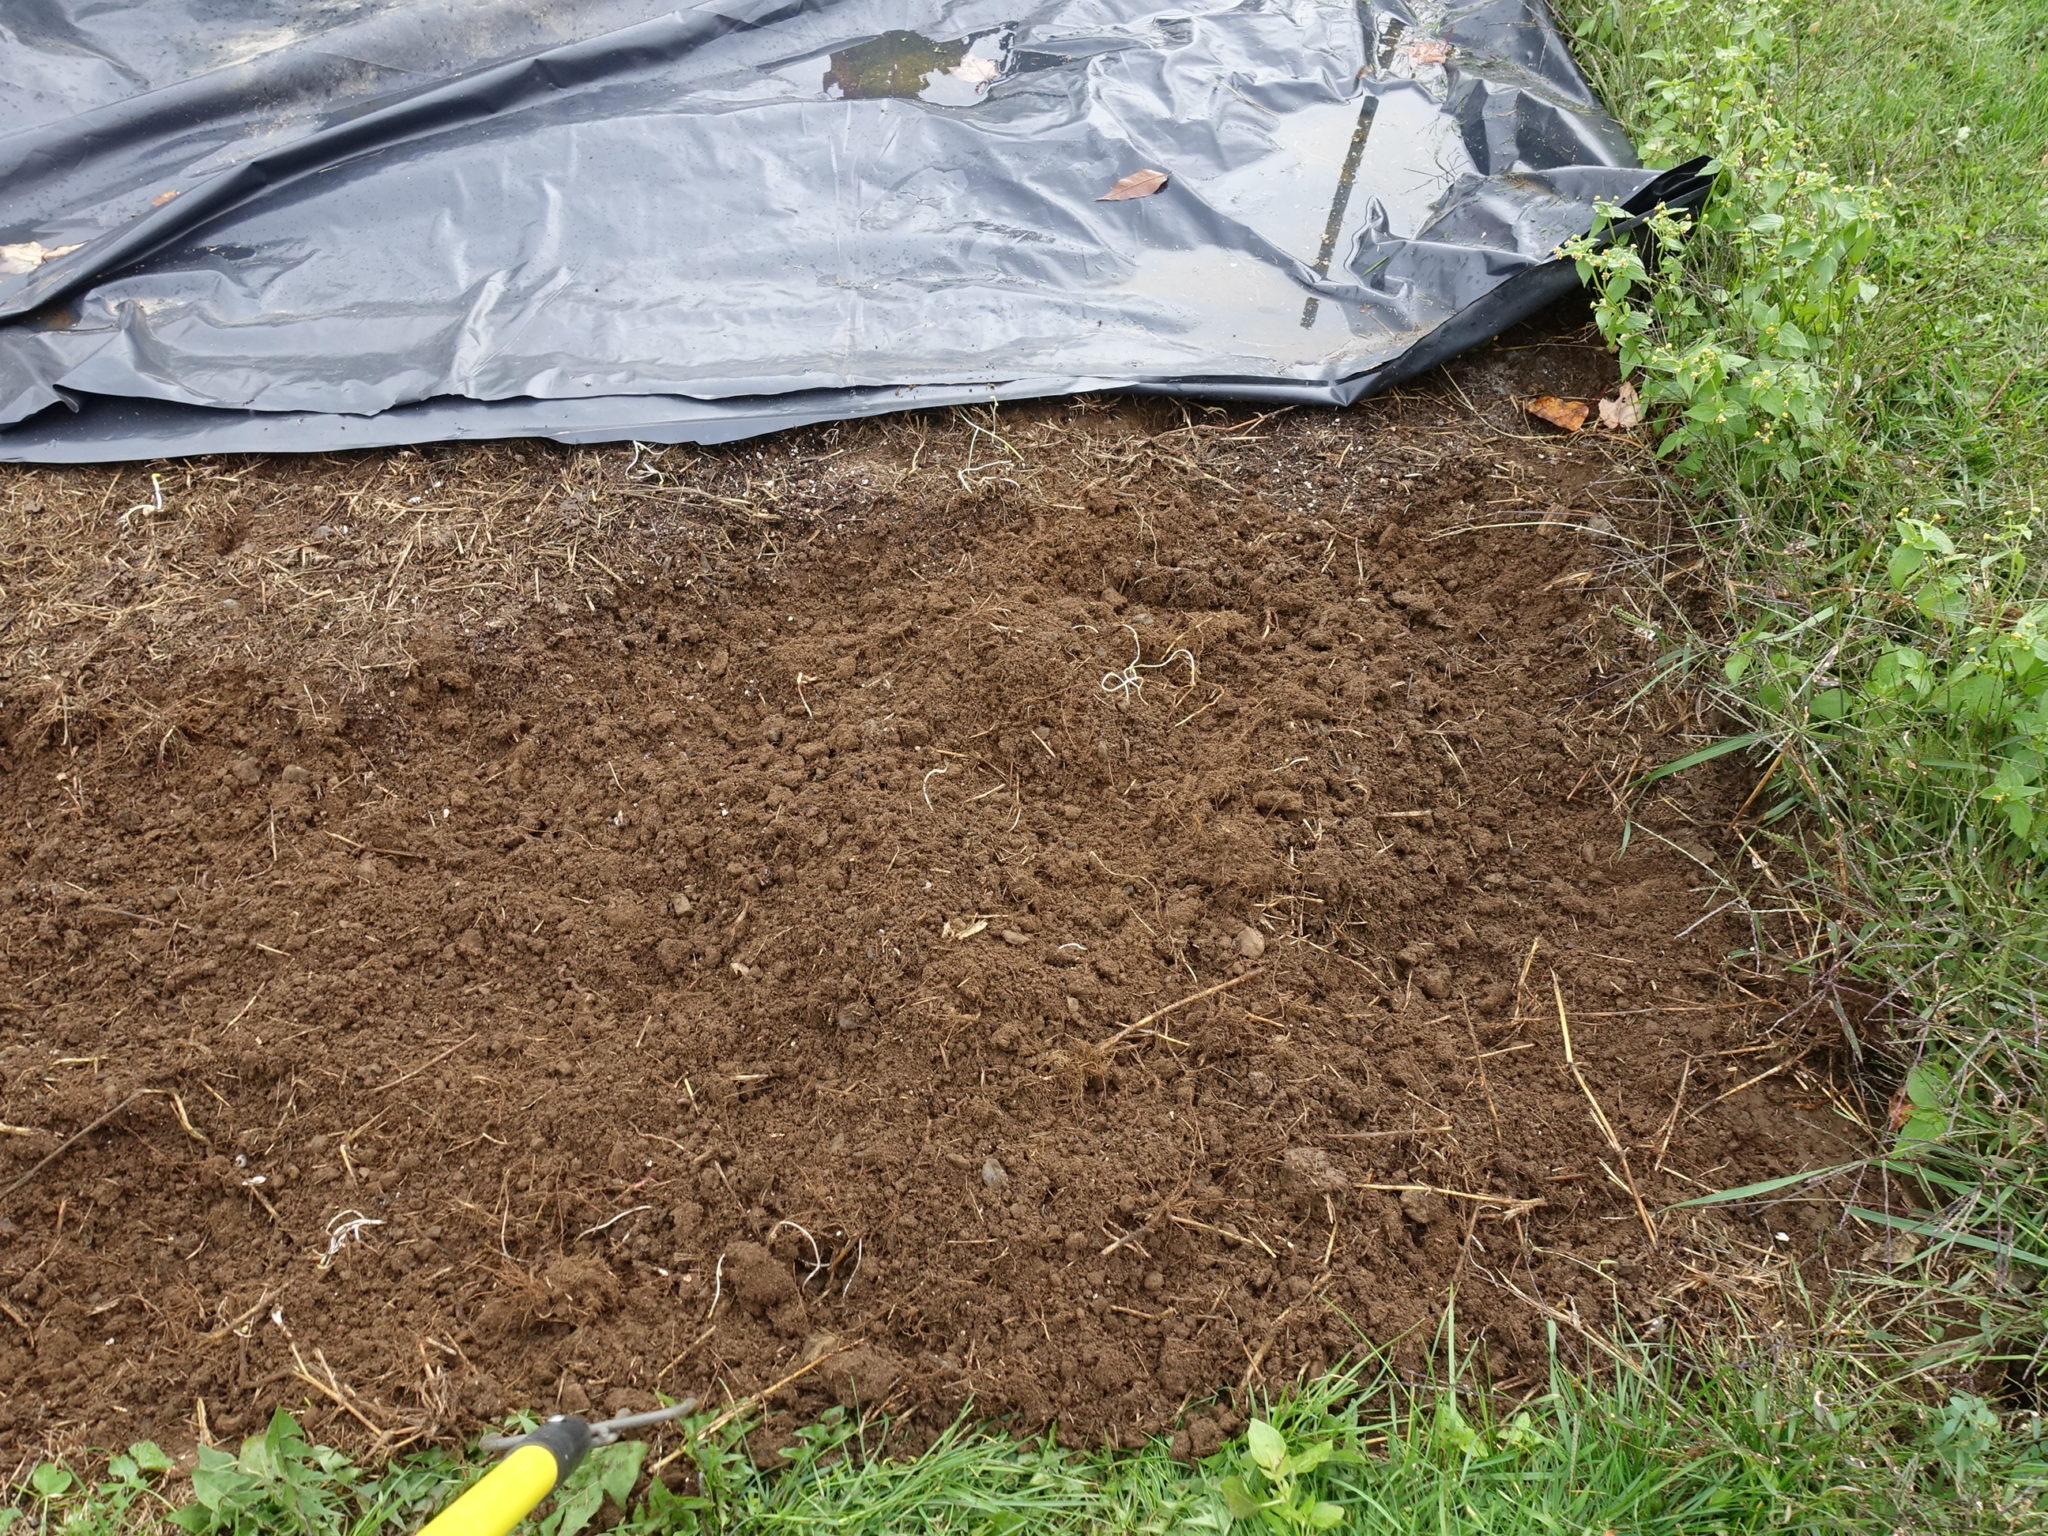
Once you have your locally sourced, safe seed garlic ready to plant, you want to prepare your soil. Don’t plant your seed garlic where you did last year. In fact, the best thing to do is to make a four-year rotation schedule, so that you wait four years before planting garlic or onions in the same place again. When you have the location figured out, know that garlic loves rich soil. He amends his soil with composted manure.
Step two: Give your planting beds a little boost
Garlic doesn’t grow well in soil that is too wet — it has a tendency to rot — and so Thurston uses a rake to raise the soil up about five inches in order to make temporary raised beds.
“I like to get it up there just in case we have wet weather,” Thurston said.
Step three: Don’t crowd the garlic cloves

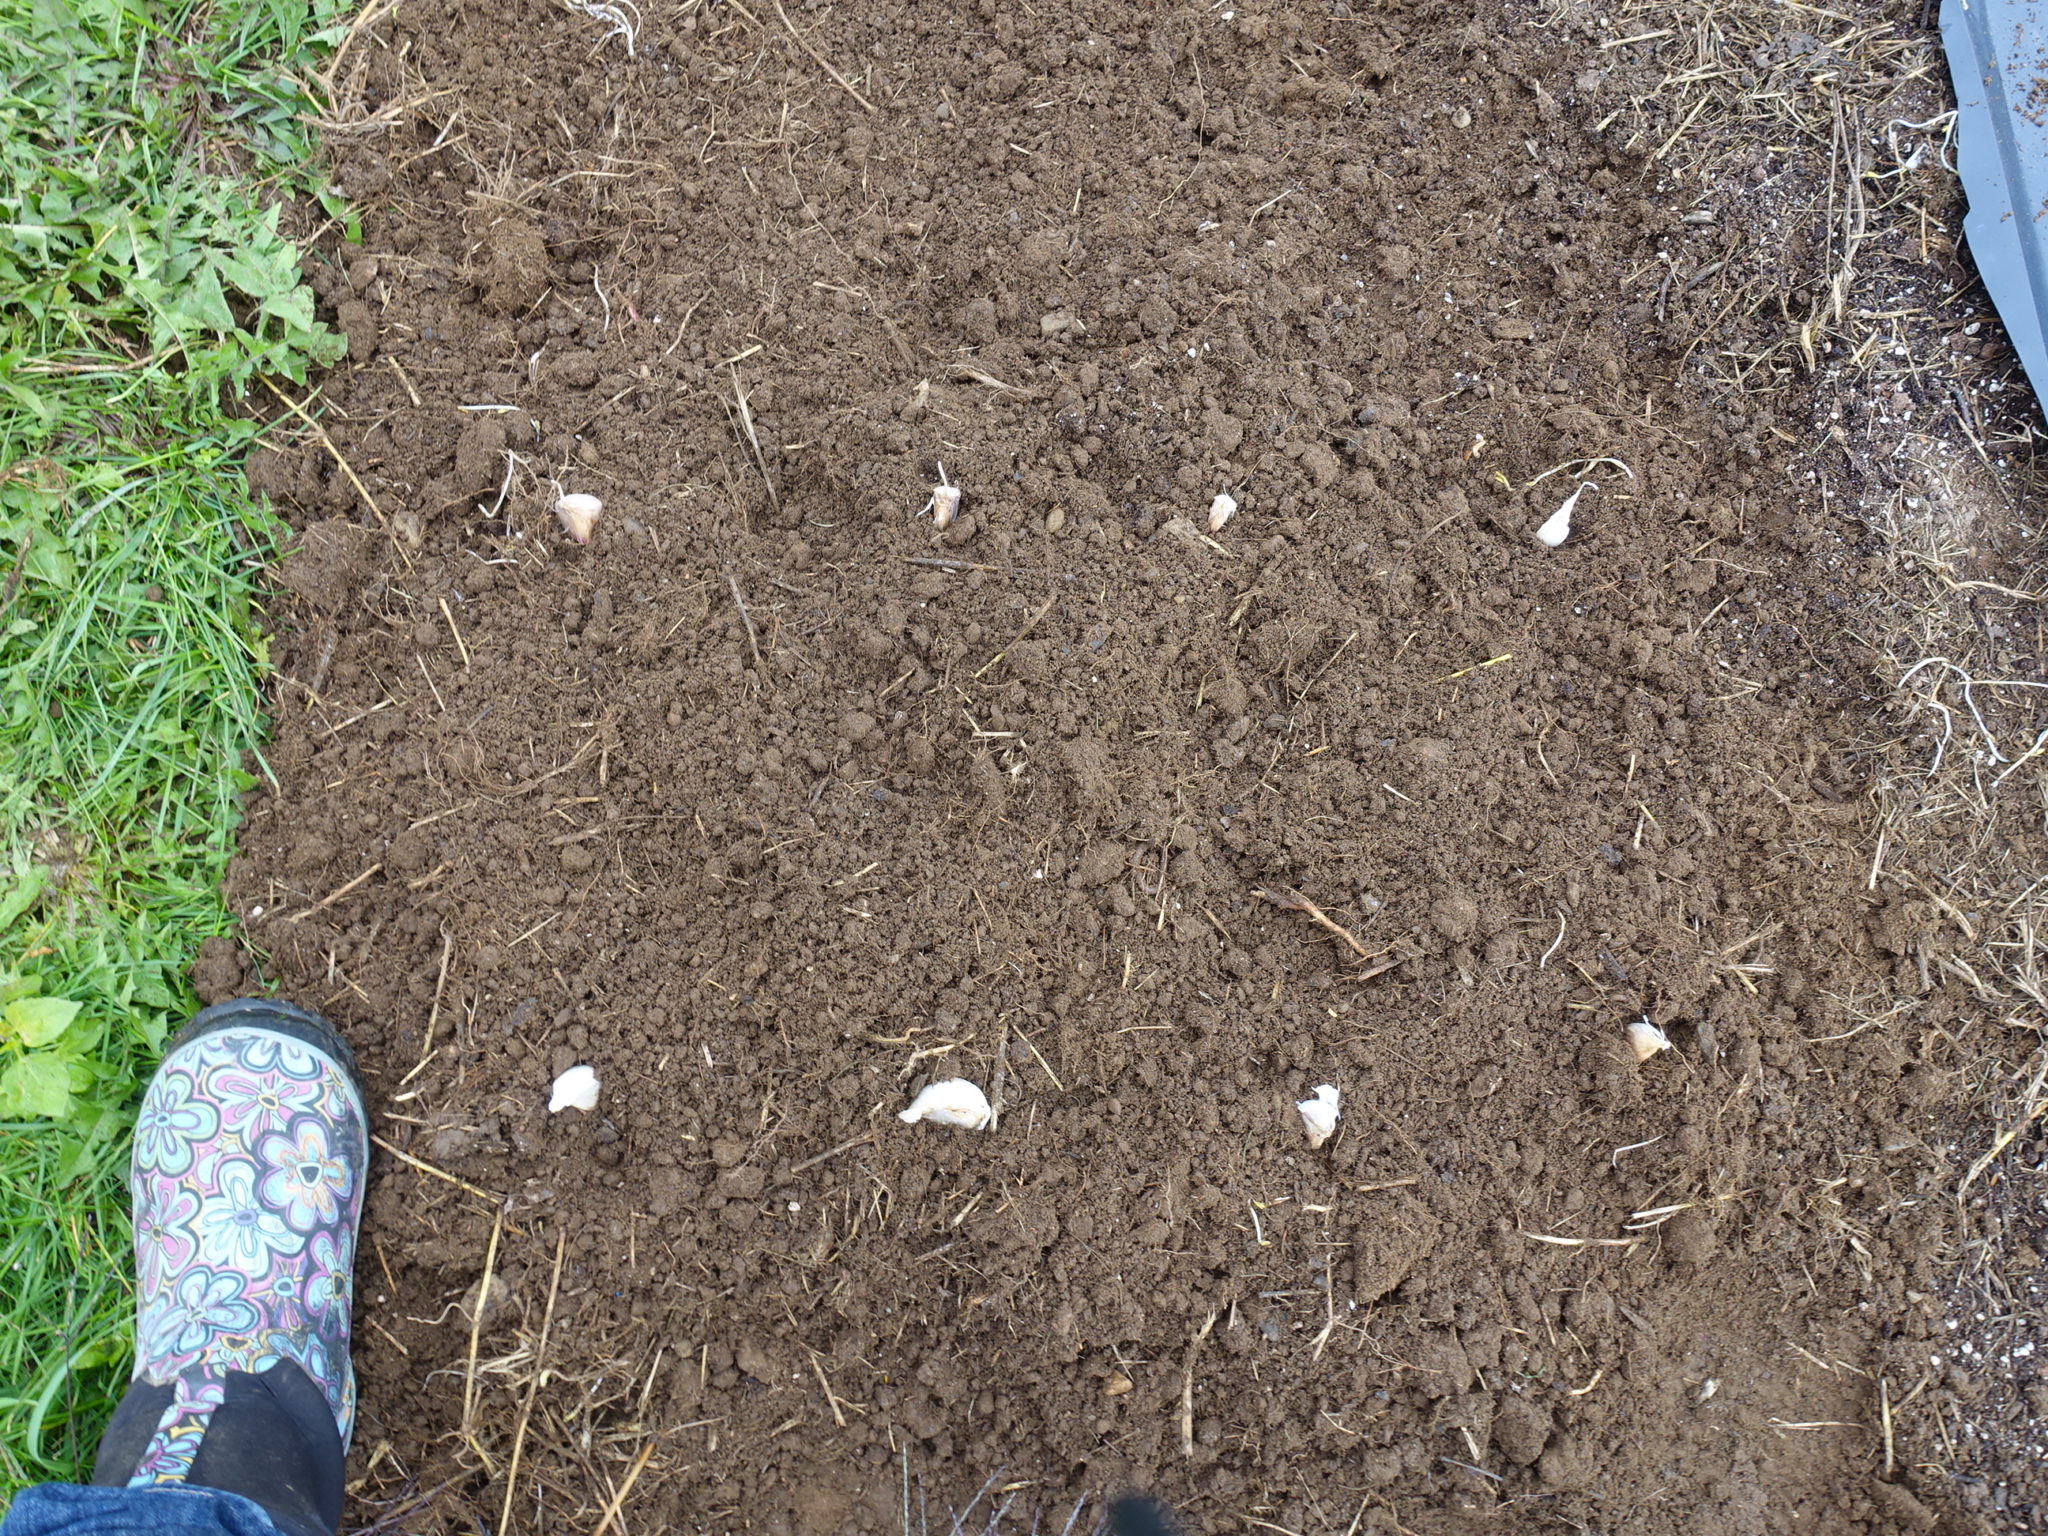
Because he has so many cloves to plant, he pushes a planter with spikes across his beds to make perfectly spaced holes. He likes the holes to be spaced fairly widely, to encourage the garlic heads to grow “really big.” In Thurston’s beds, which are about three feet across, he makes four holes across the rows, about six inches apart. Then he travels along the bed about eight inches before he puts in the next set of four cloves.
(Optional) step four: Amend the holes
Next, Thurston adds a little something extra to each hole.
“It’s something I do that not everybody does,” he said. “In each hole I put a pinch of bone meal and a pinch of Azomite, which has all these minerals from A to Z.”
Animals may be attracted to bone meal, Thurston said, but he hasn’t had problems with animals getting into his garlic.
Step five: Separate and plant the garlic cloves
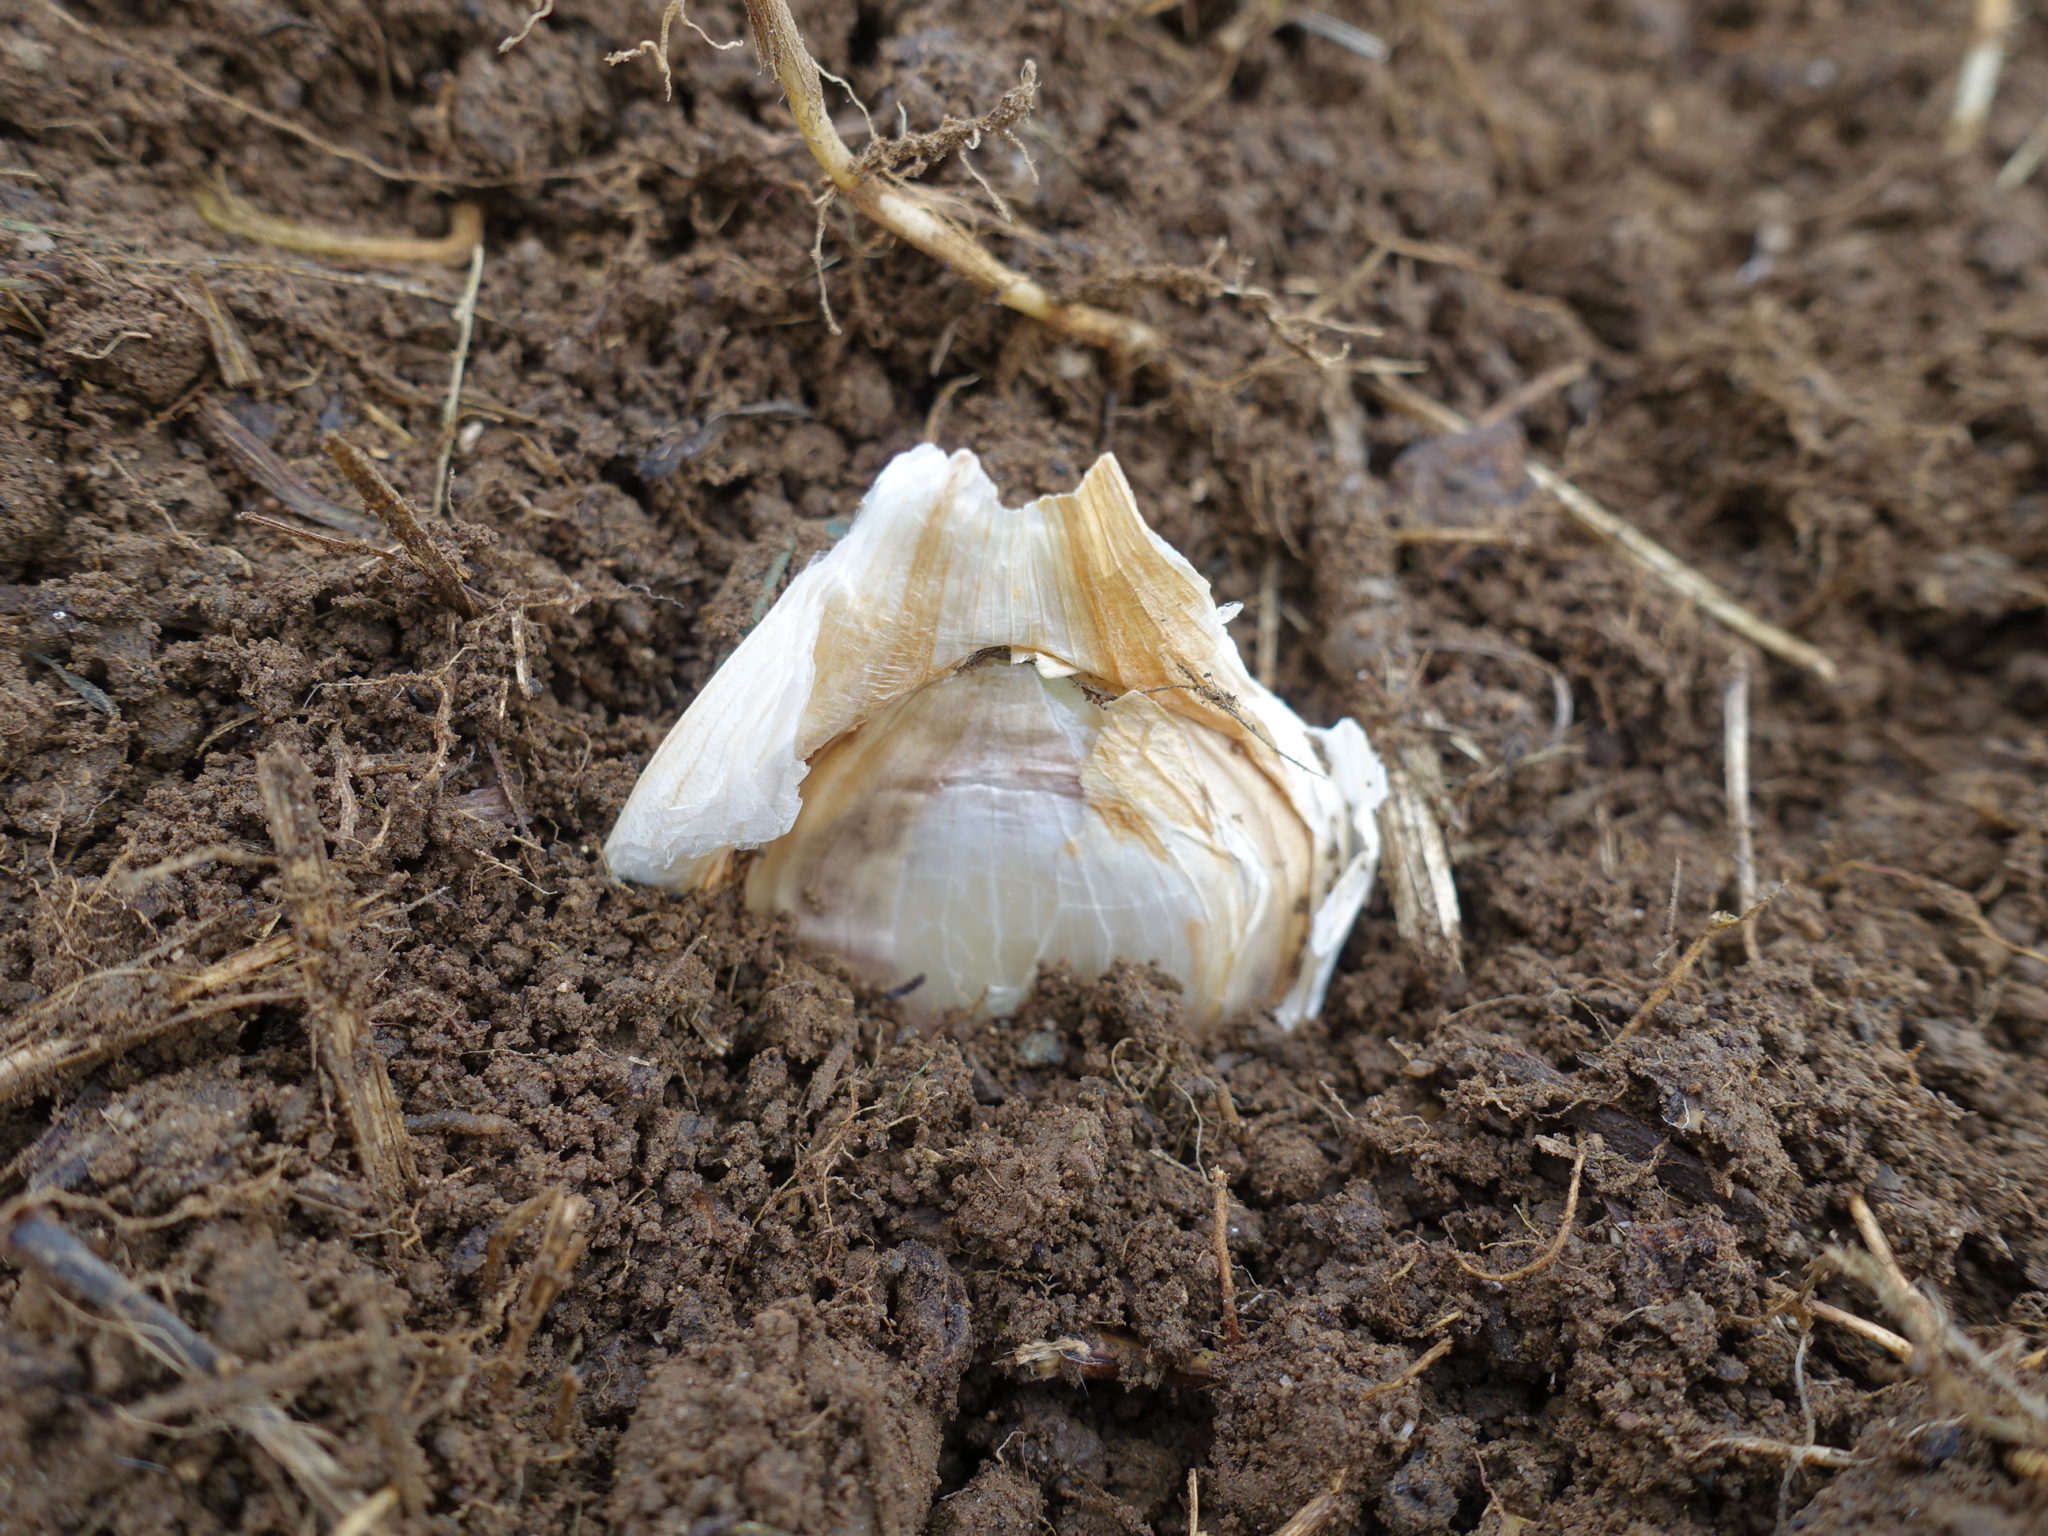
Then, shortly before you’re ready to plant, it’s time to separate the garlic heads into cloves, leaving the papery skins on them. Put the cloves in the holes, with the pointy end facing up and the flat, or root, end facing down.
“Hold the pointy end and push it down into the soil,” he said. “The top of the pointy end of the clove should be two inches under the surface of the soil.”
Step six: Tuck in for the winter
After all the rows are planted, it’s time to cover the beds with
“I’ve seen garlic heaved right out of the ground,” Thurston said. “Once I saw that, I thought I don’t want that to happen again.”

Then, you wait. You wait for winter to come and go and for the first tender shoots to poke their way out of the soil in the spring. Once you see that hopeful sign, you’ll know that your garlic is right on time.
